Configuring The TourBox For Adobe Lightroom
Configuring The TourBox For Adobe Lightroom
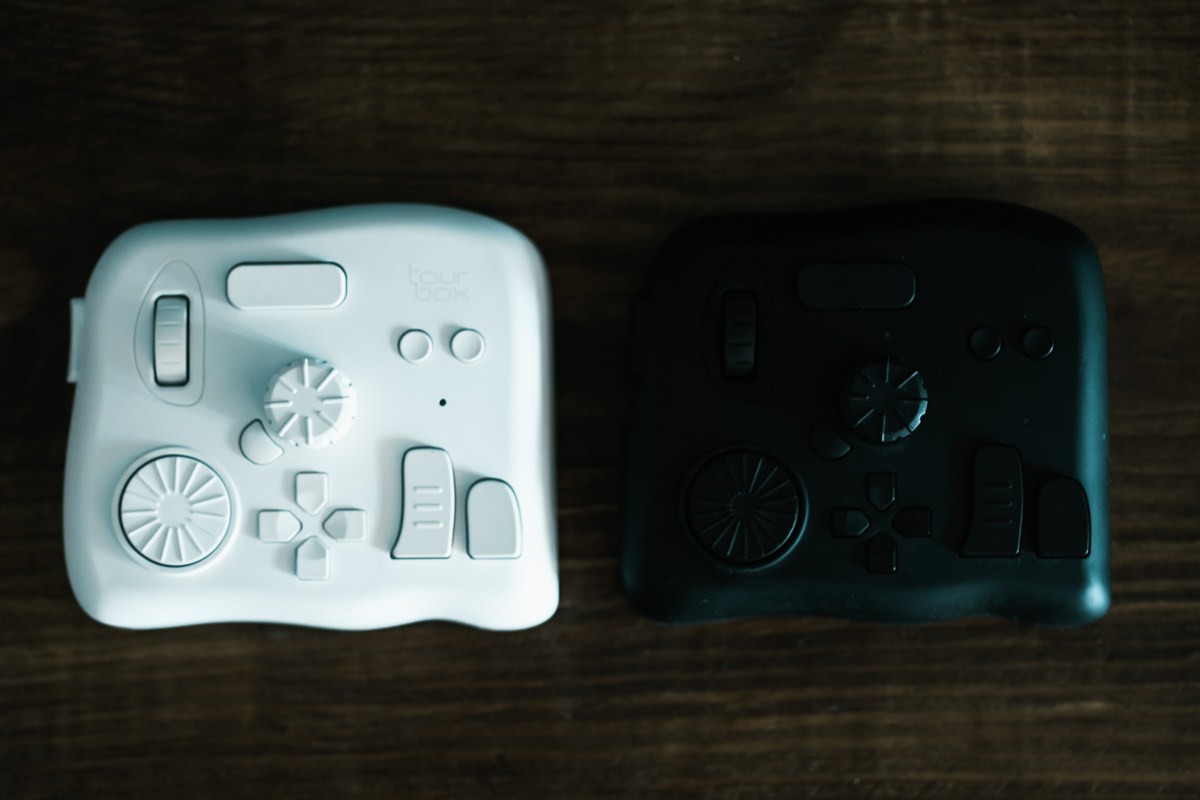
Update: I’ve just got my hands on an early pre-production unit of the new wireless TourBox Elite with the latest TourBox Console 4.0 beta. I’ll update this article and share links to the new features and presets with the TourBox Elite. It’s very exciting to say the least and has made the TourBox even more useful than before.
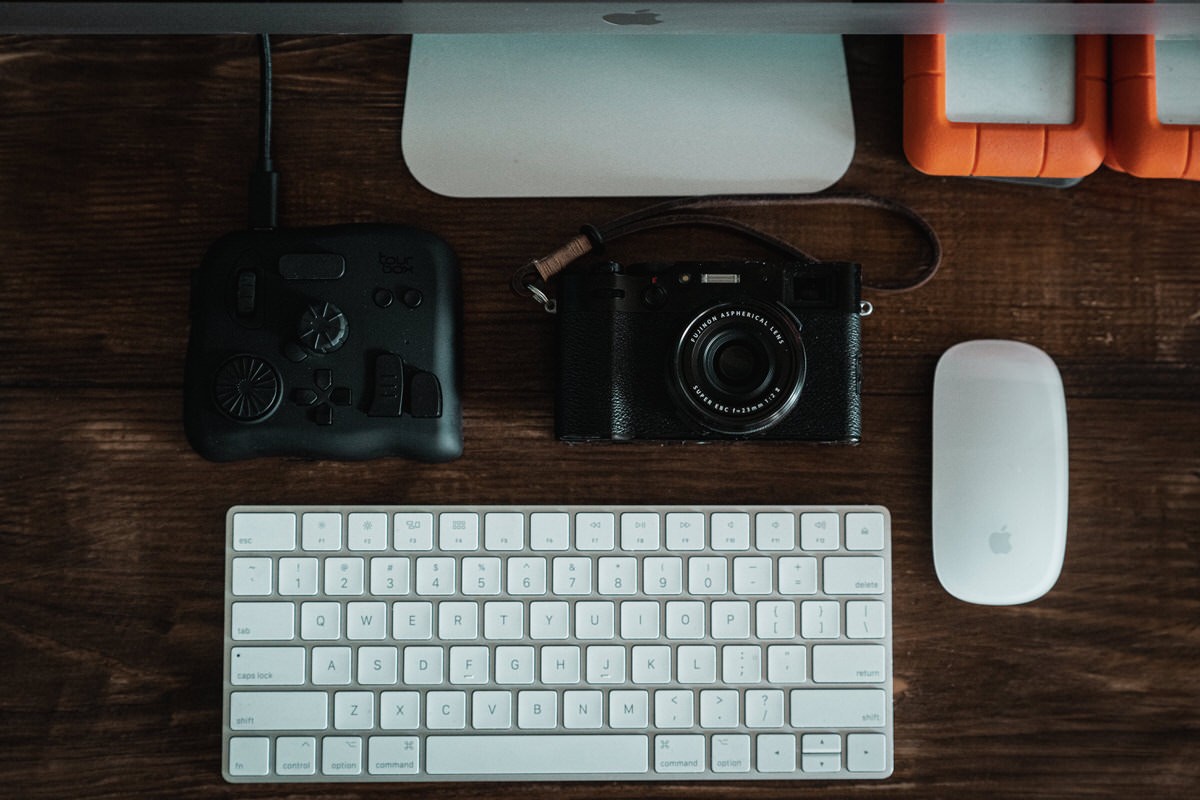
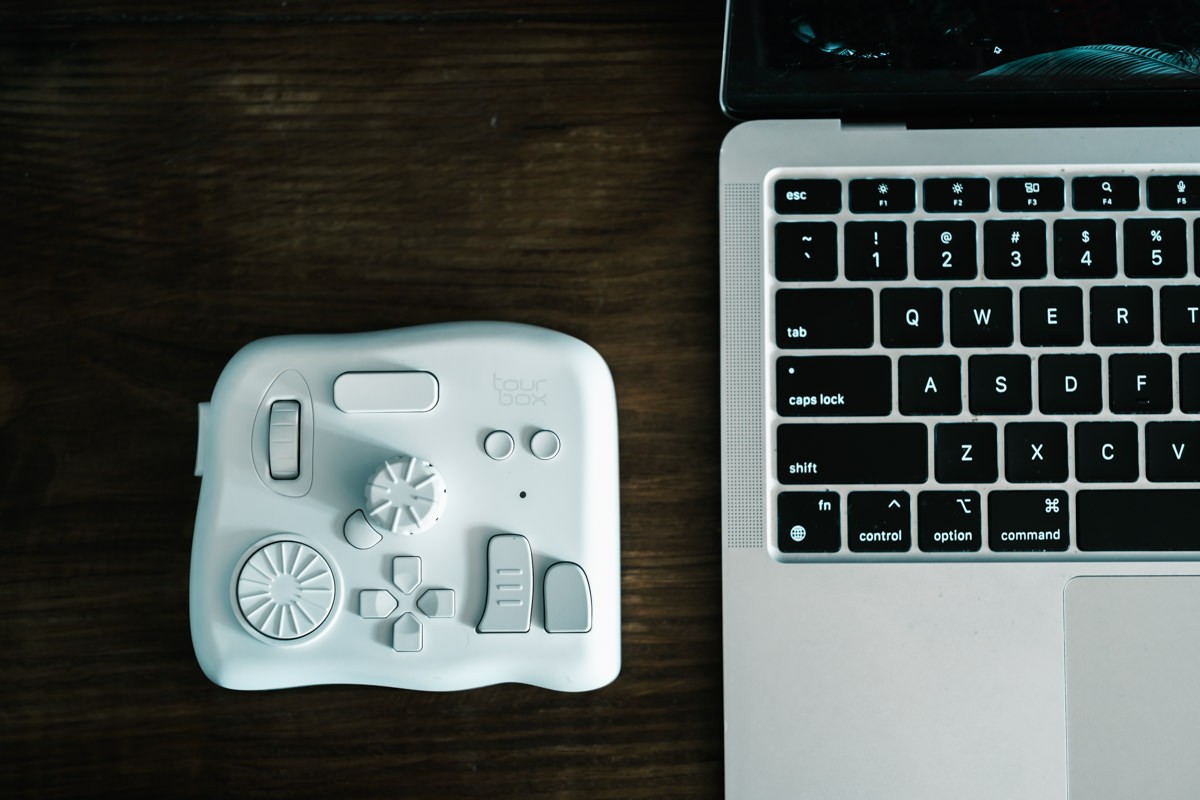
If you’re here, it’s because you probably made the decision to get the TourBox for yourself or you’ve read my deep dive review of the TourBox. I rarely get this excited about accessories like this, but it’s helped my workflow considerably, so I wanted to share the knowledge with others.
My custom Lightroom Preset is built predominantly around speeding up the culling and selecting part of the workflow, but in that process, I also found a way to make subsequent Lightroom adjustments just a bit easier too.
Culling and Selection
Though it was probably not intended to be used with two hands, I wanted to create a preset that allowed me to forgo the mouse and keyboard completely.
During this step, I work in the Library Grid view, which is faster than the Develop view. I set the C1 button to go to the Library Grid view and the C2 button to go to the Develop view. Double clicking the Top button is a shortcut for the Enter/Return key so that it can open up the full image in the Library module or confirm a selection. Double clicking the Short button activates the ESC key for me to exit out of certain windows or settings.
I’ve left the D-Pad to navigate up, down, forward and back as it should, while the combination of the Top button and Left arrow button rejects an image and the Top button and Right arrow button unflags an image. That’s mostly all I need, so it’s great to sit back and hold the TourBox in both hands like a controller and go through hundreds or thousands of photos this way.
My right hand is on the Up, Down, Left and Right arrow buttons and the left hand is used to click on the other buttons.
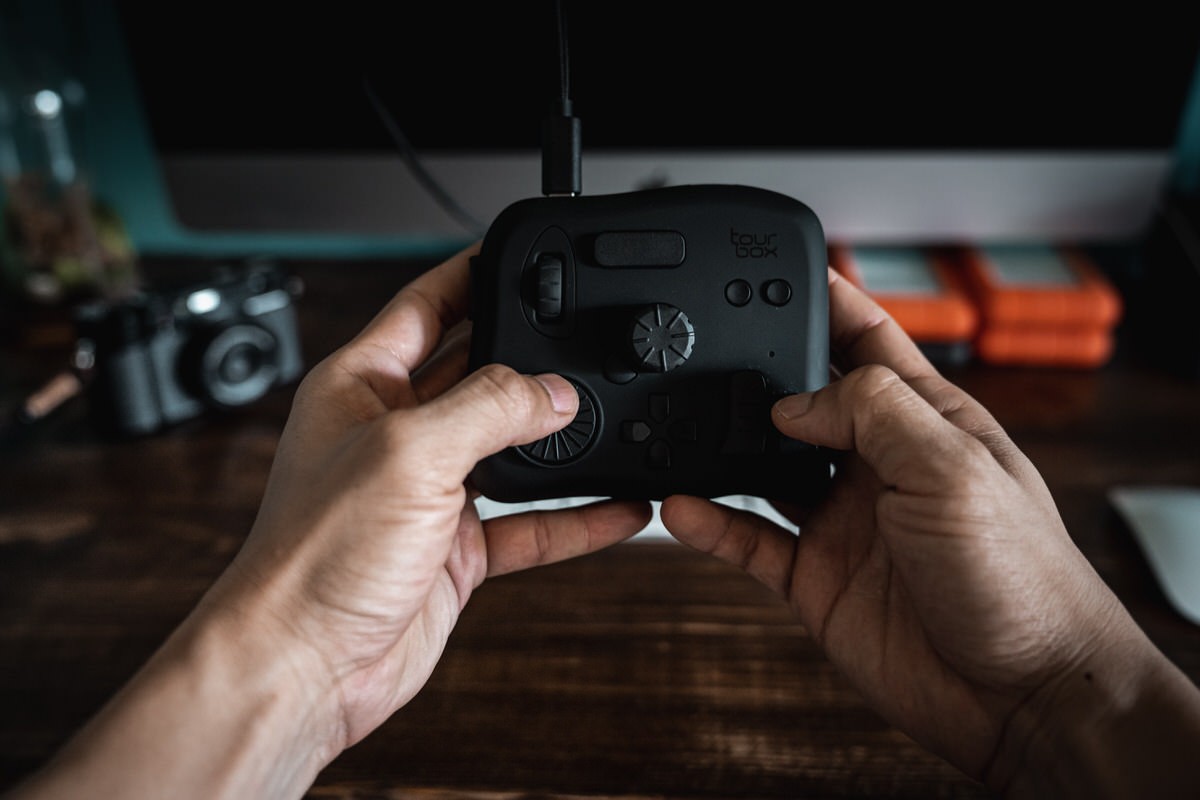
There is a great ergonomic benefit in this and my wrist isn’t so sore going through images for a few hours straight compared to the keyboard.
The arrow keys along with the Side button allows me to add or remove a photo to a selection. This allows me to select a batch of consecutive photos to reject at the same time. The Side button on its own is set to the Shift key, and a double click is a shortcut to Deselect. The Top button is set to the CMD key. I have Shift and Command set so I can use it to select images with the mouse if necessary.
During the selection process, I don’t usually edit an image, but I’ve set the Scroll Wheel to adjust exposure and the Tour button just to the bottom left of the Knob to rotate right. This is great for being able to quickly correct exposure and orientation on an image before deciding to keep it or not.
Dialing It In
For the actual photo edits, I hardly bothered trying to map the TourBox to all the different adjustment options. There are simply too many and it would require too many combinations that I would never remember.
What I did find useful was using the Knob to adjust the slider based where my mouse was pointed. As an example, I could use the mouse to point over Contrast and then turn back and forth on the Knob until I liked what I saw, then move the mouse down to Highlights to do the same. It was very quick to go down all the adjustment sections this way and I didn’t even have to click and move the mouse to adjust the sliders.
The dial is used to navigate quickly around my Library, but if I wanted to move one shot at a time, I can always go back to the D-Pad. The Side Button is set to Shift, so I can hold down on that and make a large selection at once. If I want to make selection using the CMD key, I can hold down the Top button while making my mouse selection. I’m pretty happy about getting almost everything I ever use mapped to the TourBox.
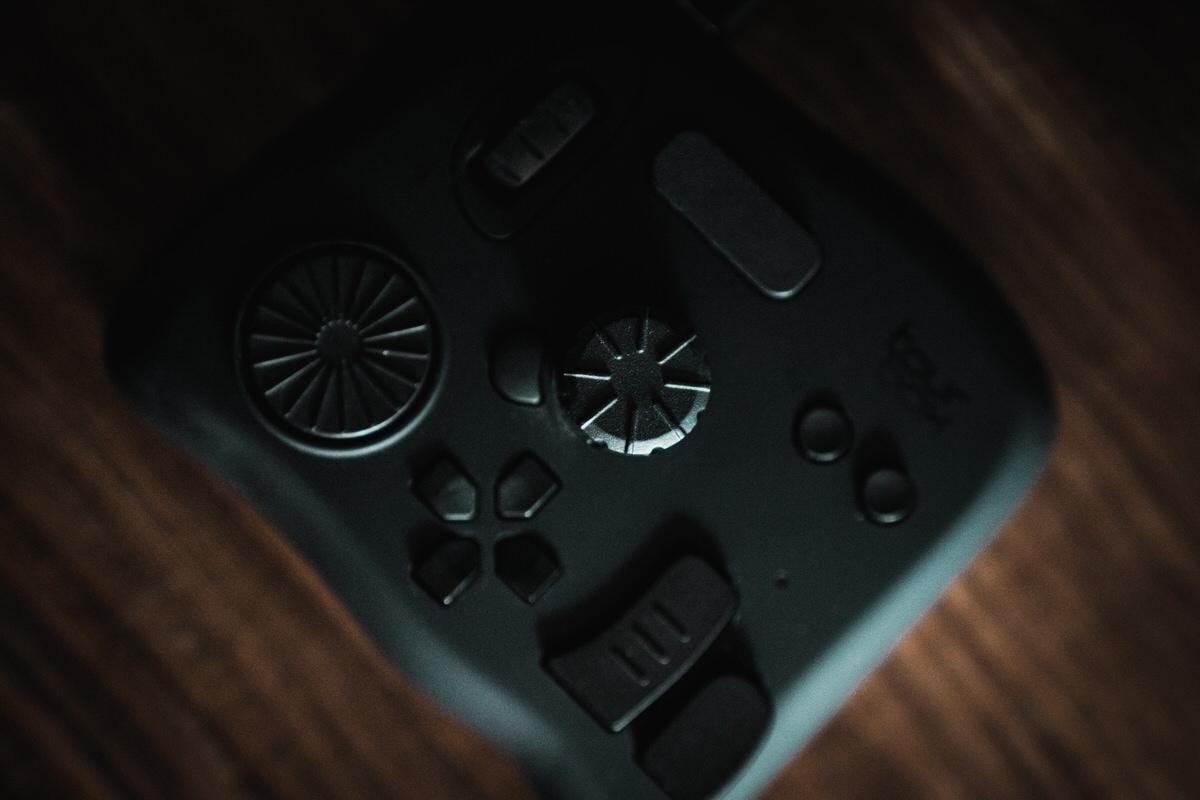
Holding the Side button and then pressing down on the Top, Tall, or Short button with activate the Spot Removal, Graduated Filter, and Adjustment Brush, respectively. These are adjustments I regularly use so it’s nice to open them quickly. In addition to that, I can open up the Crop/Rotate tool by double clicking on the Tall button.
All of this took a little getting used to, but the learning curve is not steep at all. My last trip lasted 4 months and spanned 13 countries, so there were about 7000 photos. After setting the TourBox, I immediately went through 1000 photos using the two-handed method. There were a few missteps along the way that I had to stop and make some adjustments to my Preset, but after that it was a breeze to go through the selection.
For the next 1000 or so photos, I went back to the keyboard. It felt slower. I much preferred the TourBox method for culling and selecting with the controller in my hands and leaning back on my chair instead of hunched over a keyboard. The ability to quickly adjust exposure and rotate was something that was dramatically faster as well.
It took a couple of hours over different days to “rewire” my brand to prefer the TourBox over my keyboard, but now I find myself editing so much faster with it than without.
Download My Preset
While I recommend everyone customizing the console to their specific needs, if you want a baseline to start from built off my workflow above, you can download my preset here. Enjoy and pass on the knowledge. If you haven’t bought the device, the TourBox Elite is now on sale at the company’s website. It’s also available on Amazon, but the discount code doesn’t work there.
Updated on April 19, 2023






[…] If you want to download my Lightroom preset and read a full breakdown about the customization, here’s the separate post that goes in depth into […]