6 Time-Tested Tips + Best Cameras/Lens For Shooting Cherry Blossoms
6 Time-Tested Tips + Best Cameras/Lens For Shooting Cherry Blossoms


After many trips to Japan, I finally decided to visit Tokyo during Cherry Blossom season to see if it was really worth the hype and dealing with crowds. I also wanted to capture the beauty of this transitive event that’s so important to the Japanese people.
For them, the sakura flower’s emergence once a year and its transitive nature is a metaphor for the fleeting beauty and fragility of life.
You can check out my full Cherry Blossom in Tokyo guide for the best spots, but below I’ll put on my photographer’s hat and nerd out about gear, technique, and hours.
What Camera and Focal Length Lens To Use For Shooting Cherry Blossoms?
For my trip to Japan this time, I shot with two cameras, the Fujifilm X-H2 and the Ricoh GRIIIx.
The X-H2 is my main camera with an impressive 40 mp ASP-C sensor in a compact body. I deliberately choose to shoot with an APS-C sensor instead of a full-frame sensor to keep my travel kit small. In fact, my setup with the camera and three lenses fits perfectly into my small waxed canvas Ona Bowery shoulder bag.
The Ricoh GRIIIx is my favorite new camera because it has the same APS-C sized sensor as my larger X-H2 and a beautiful 40mm f/2.8 lens and it fits in my pocket. I keep this camera in my pocket or in my medium WANDRD Tech bag and carry with me everywhere. It’s been so good at what it does that I don’t mind leaving my full kit back sometimes when I want to walk around light.
Take a full look at WHAT’S CURRENTLY INSIDE MY CAMERA BAG.
Focal Lengths
I travel with the Fujifilm 10-24mm f/4, 35mm f/1.4 and 55-200mm f/3.5-4.8 combo. That’s the rough full frame equivalent 15-35mm, 50mm and 85-300mm, respectively..
Do you need all three lenses? Not really.
I found that I took 80% of my shots with the long telephoto 55-200mm lens and most of the time on the longer end.
The other 20% of the shot was with the 35mm f/1.4. That was a decision to keep a lighter lens on my camera more than preferring the shorter focal length or needing the wider f/1.4 aperture.
I also spent a whole day with just the Ricoh GRIIIx and its 40mm f/2.8 lens.
1. Zoom In
I think I ended up using the long focal lengths the most because, instinctively, I wanted to:
1) remove the element of the crowds
2) compress the foreground with the background.
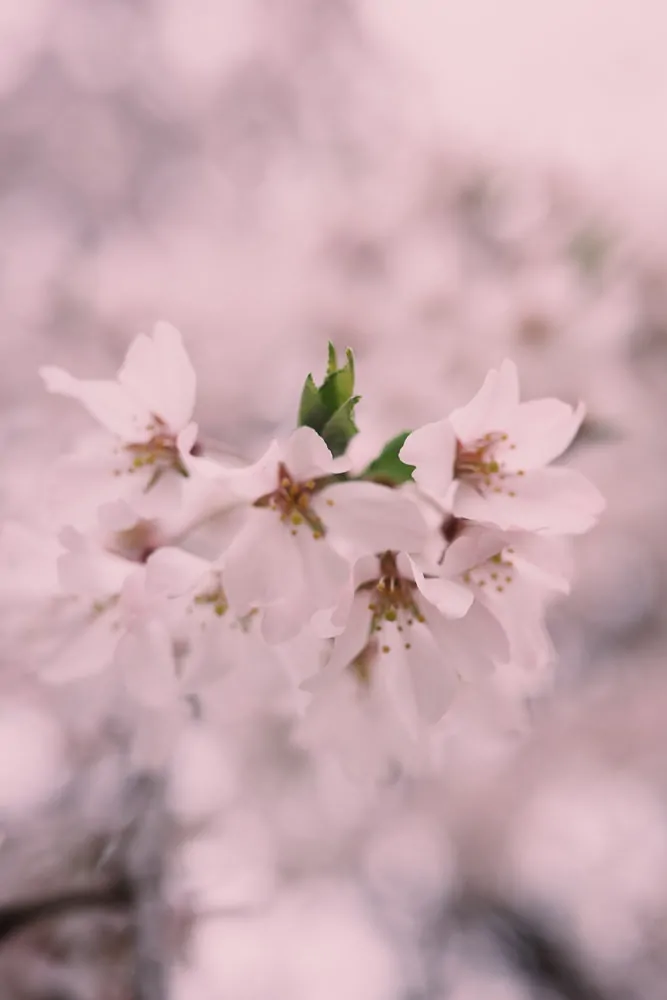
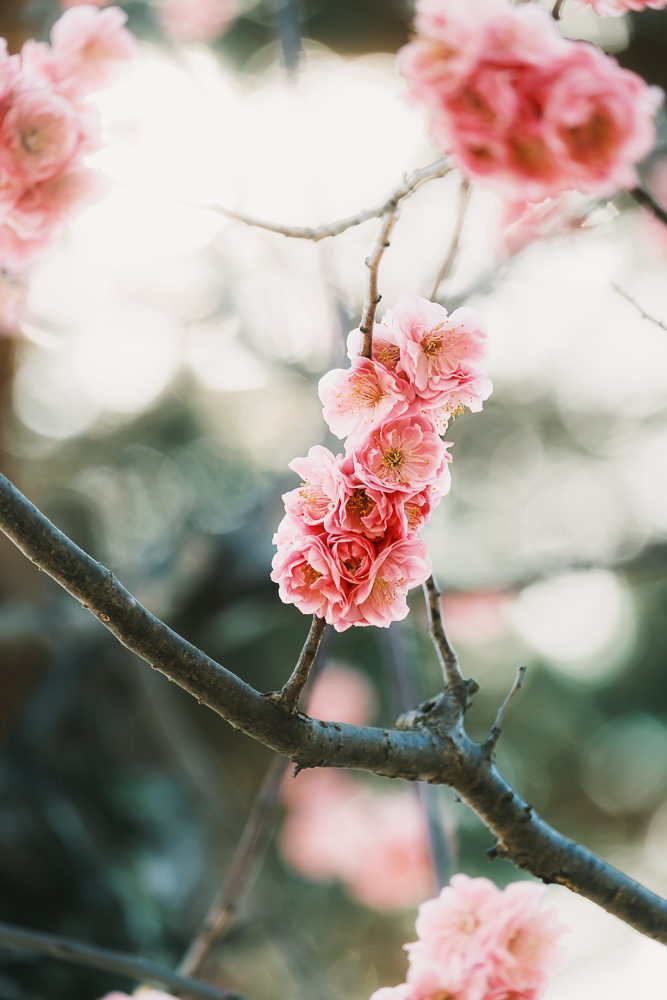
First, I wanted a few close up shots of the flowers themselves. Having a 300mm reach was nice for that since they were farther away. Even when I wanted to get a slightly wider shot, I rarely went down below 100mm.
The telephoto lens only stopped down f/4.8 when I was at 200mm. When I shot full frame, I used to have the 70-200mm f/2.8. It was nice to have that shallow depth of field, but if you look at the photos below, f/4.8 is plenty shallow enough – and in full frame terms, that’s around f/7.
A couple of times I wanted to include people in my shot, but to do so candidly. The long reach of 200mm allowed me to step back and shoot from a distance without disturbing anyone. It also allows me to fill a whole frame with just the cherry blossoms.


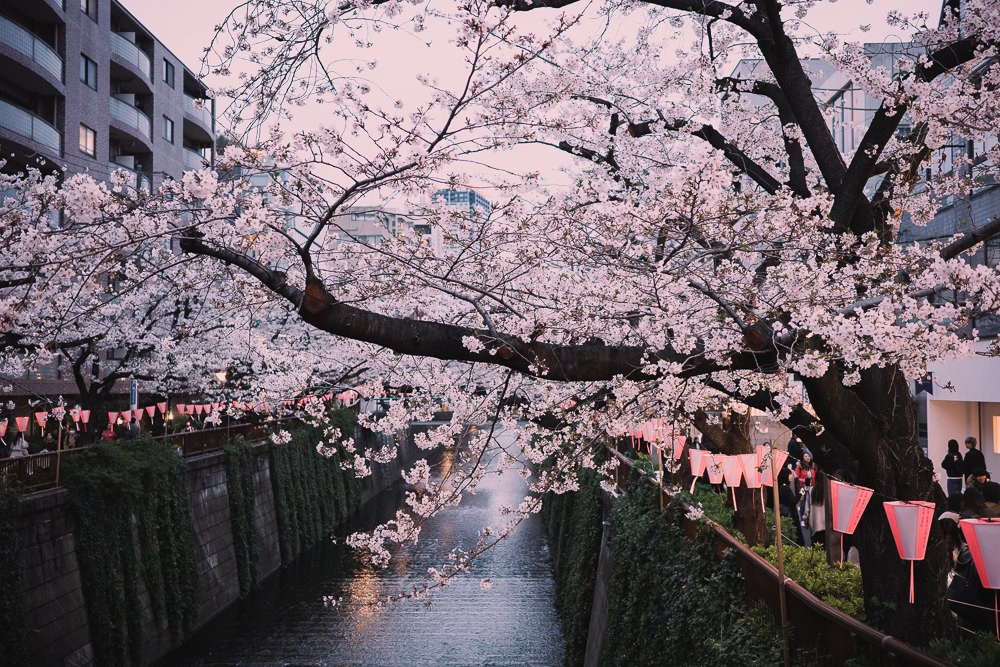
2. Step Back And Go Wide
At the wider end, 55mm is equivalent to equivalent to roughly 85mm. This is usually a good portrait focal length, but the more I shot with this over time, I realized, it was also a great scene focal length. I could use the 55-80mm range and still get “wide” shots by being further away.

3. Create Some Subject Separation
Like many photographers at some point, the 50mm was first lens I truly learned to shoot and compose with. It’s a rough equivalent to what we see with our eyes. For some, it’s their favorite focal length, while some others might finding it boring.
On the Fujifilm system, their 35mm f/1.4 is a legendary lens that has the equivalent 50mm focal length on full frame. I love to shoot with this lens because I compose scenes as wide and tight as I need by moving around.


At the same time, I can really use the shallow depth of field. Both of the shows below are at f/2.0. In other words, I can get even shallow depth of field than this.

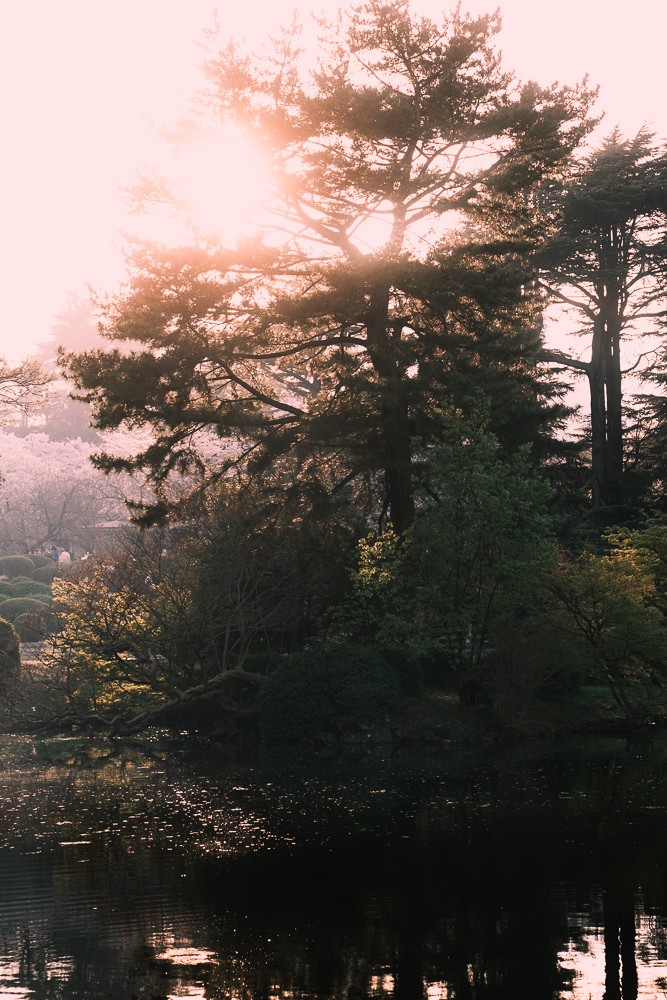
4. Use A Diffusion Filter For Cherry Blossoms
You might have noticed that there’s a glow in some of the photos above, especially around sunset. That’s the effect from using one of my favorite filters – this 1/8 Black Diffusion from K&F. Tiffen makes the Pro-Mist that is similar. I personally like the 1/8 strength compared to the 1/4, which I feel is a bit too dreamy and diffused.
What I like about this inexpensive K&F filter is that it generally softens the image, but maintains the contrast. When you are shooting in the direction of a source of like, it will create a glow effect while keeping everything else more or less the same.
I first started using this diffusion filters for shooting videos, because it sort takes the edge off of the digital image. Some diffusion filters decrease the contrast, which is a look filmmakers prefer, especially for color grading.
For shooting cherry blossoms, a bit of that dreamy diffused look goes a long way, especially with the soft pastel tones, especially at sunset.
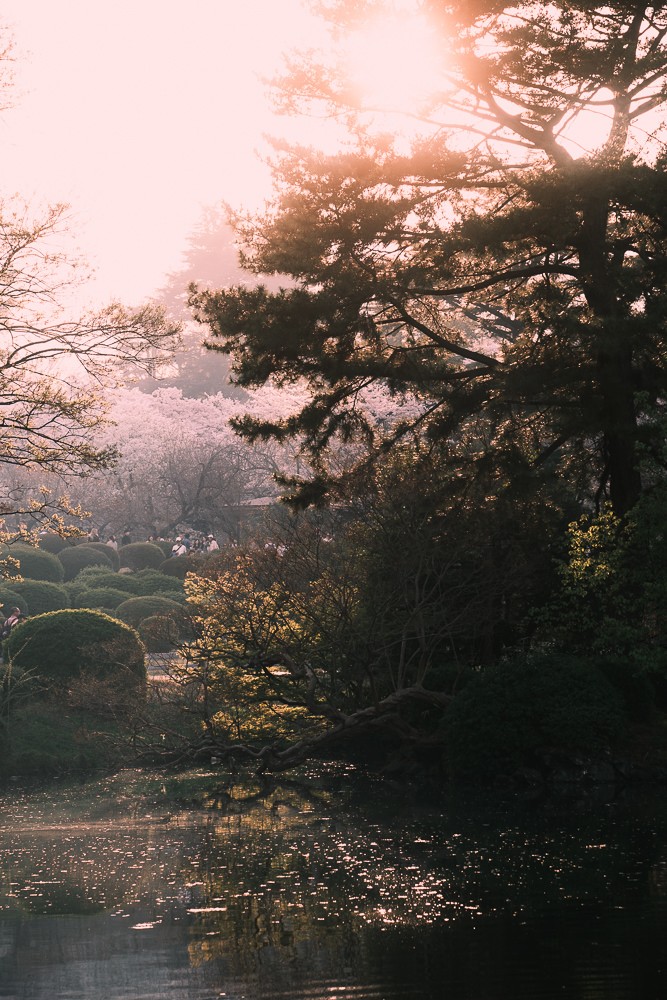

5. Shoot During Golden Hour Into Twilight
This seems like basic advice, but shooting in direct sunlight will wash out a lot of the subtle colors in the cherry blossoms. Shooting just before sunset during golden hour gives you both beautiful and diffused lighting.


When the sun goes down and the warm tones are gone, twilight gives another look that.
And then after that, even night time can be a good time to shoot, because in many places, the trees are lit up when it gets dark.


6. Creatively Frame Your Shot
Add a subject
As exciting as it is to see the cherry blossoms for the first time, it gets boring to shoot the trees after a while. You’ll want to start framing your shots to capture something different. It could be people, it could be an object, but add a subject to your frame.
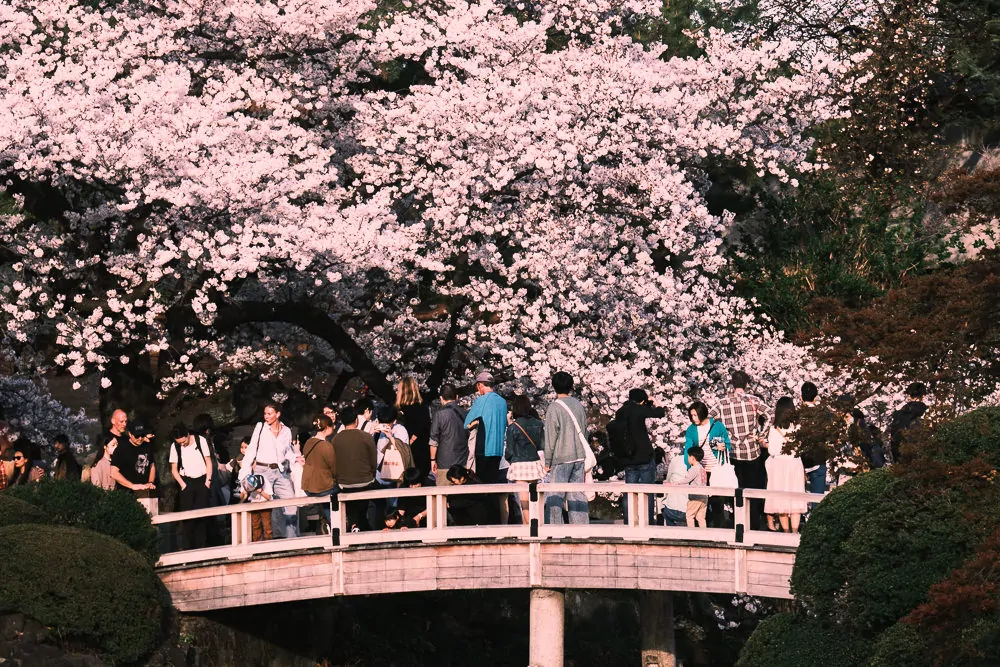
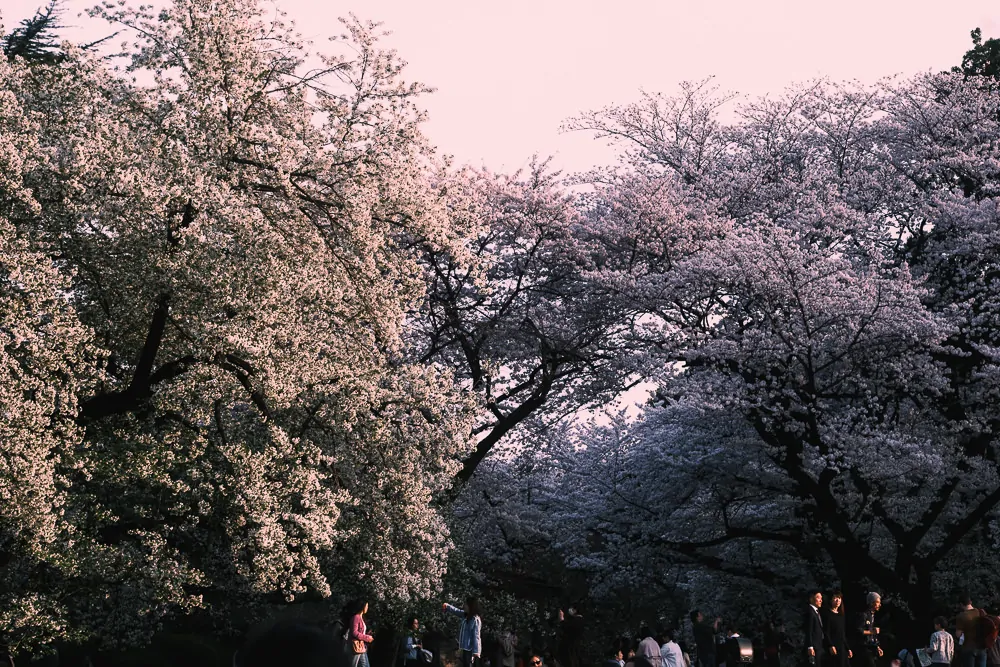
Use colors and scale
You can use colors as shapes to frame your shot and use scale for perspective. In this case, I wanted the people to be just at the bottom of the frame partially cropped off, to show how big these trees can grow. Additionally, the two tones create a natural contrast and shape to the shot.
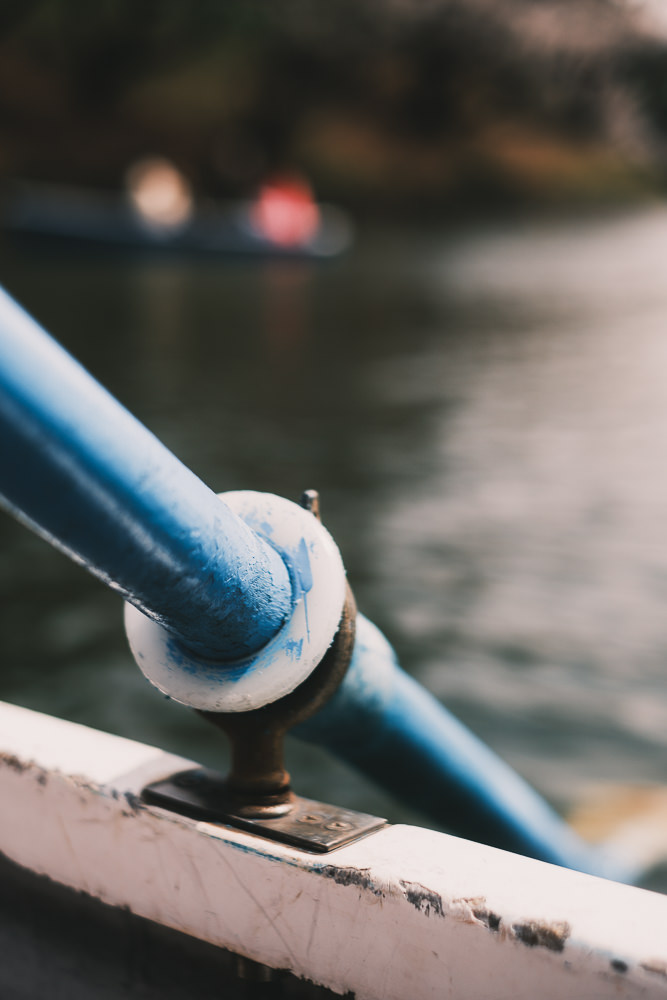
8. Focus On Something Else
It’s easy to default housing the cherry blossoms as the focal point of your photographs, but I also like to use it ask an accent or a backdrop for something else. From a storytelling perspective, you can focus on things you’d normally be photographing in Tokyo, but with a subtle hint of the when.


Happy shooting and be sure to check out my favorite spots for viewing the cherry blossom in Tokyo.
Updated on September 12, 2025