My Travel Photography Gear For 2024
My Travel Photography Gear For 2024
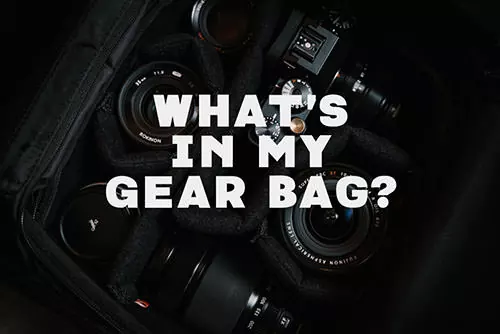
At the end of 2020, I’ve made a complete switch to Fuji’s X-System to cut down size and weight on my travels. Despite going from full frame to APS-C, it’s been one of the most liberating things I’ve done as far as gear. Check out my gear recommendations and why I carry what I carry when I travel to shoot.
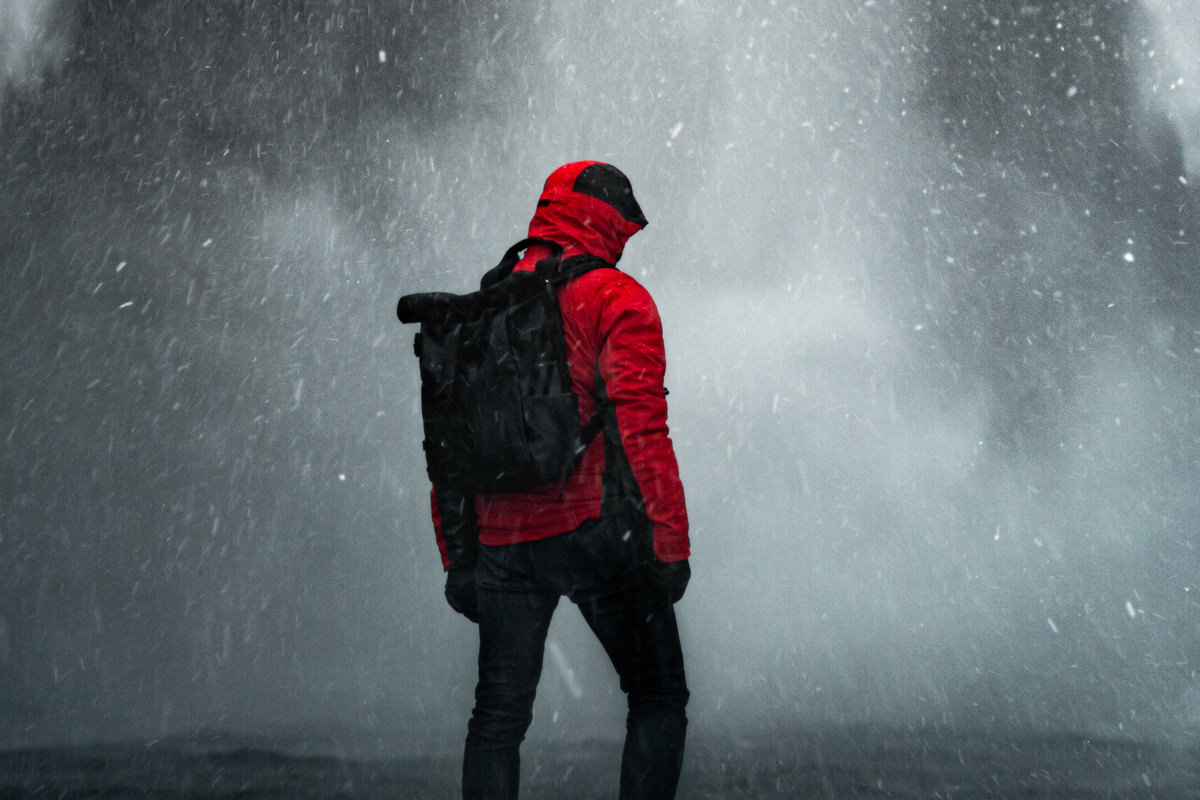
Camera Bags
Option A: Since 2019, I’ve used a LOWEPRO PROTACTIC 450 AW bag that allows me to carry a lot of gear. This was especially useful when I flew around the world for 5 weeks to shoot both photos and videos for Daimler and Mercedes. I had to shoot fast and lean, and this bag allowed me to carry my camera, 4 lenses, drone, batteries, light, shotgun microphone, wireless lavalier kit, tripod, lightbox, and more.
From time to time, I will continue to use it for my travels, but only when I need to transport a lot of gear to a location and then move what I need into a smaller bag or sling when I’m out shooting.
Option B: For that reason, I bought a WANDRD PRVKE 21L which is a little smaller, but is a much easier bag to take around during the day. I can’t bring all my gear with this bag, but most of the time I don’t need to, and I like having the expandable top compartment to throw in random stuff I need day to day. I can keep my camera, a couple of lenses, and drone in the camera cube, so it’s perfect. This is one of my favorite camera backpack in the 15 years I’ve been traveling and shooting.
There’s also a 31L version if you need to carry more gear. It’s only slightly larger, so you aren’t compromising on size, but I already have the 450 AW so I went for the 21L version.
Walk Around Camera Bags
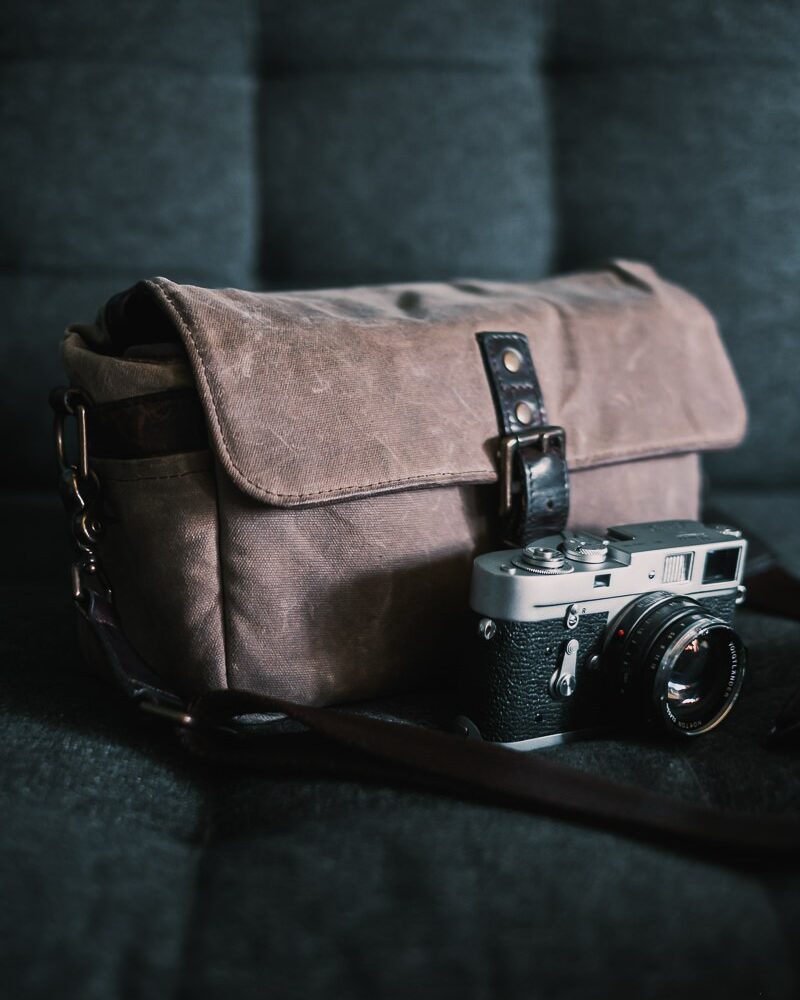
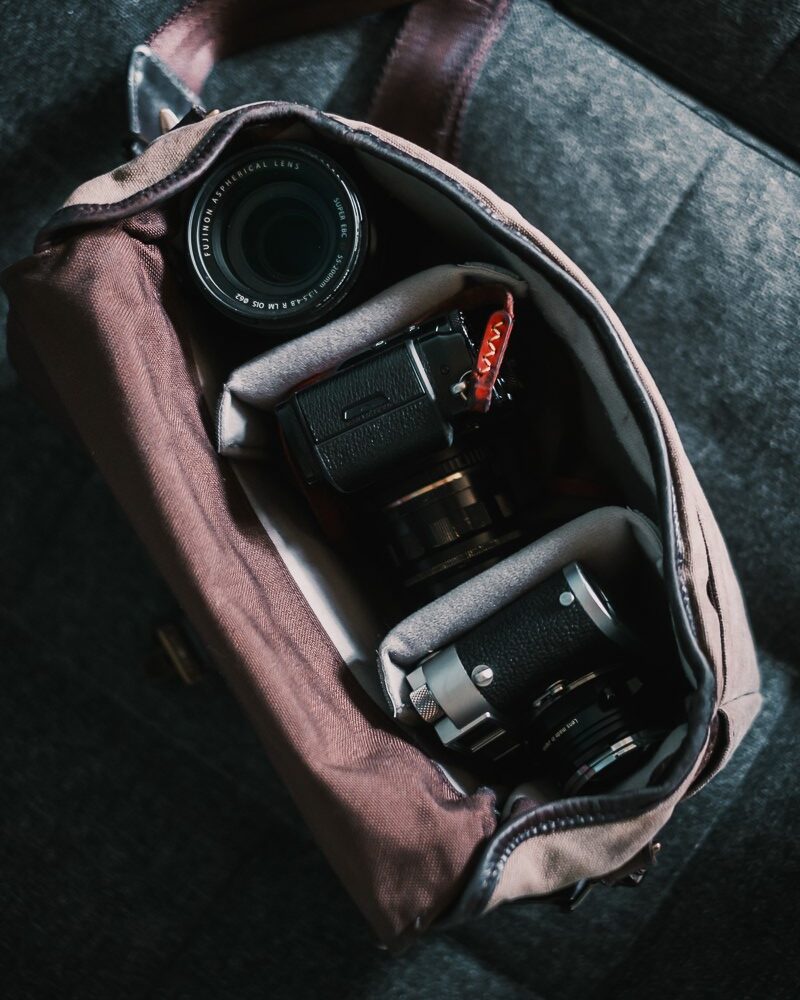
I actually own two amazing shoulder bags that I prefer to use when going out to shoot. Until recently, my go to daily carry bag was the Ona Bowery waxed canvas bag. It’s a rugged camera bag that allows to retrieve my camera so I don’t have to walk around with it in my hands. Ideally, I go out with just one camera and two lenses, but it can actually carry a camera and 3 lenses.
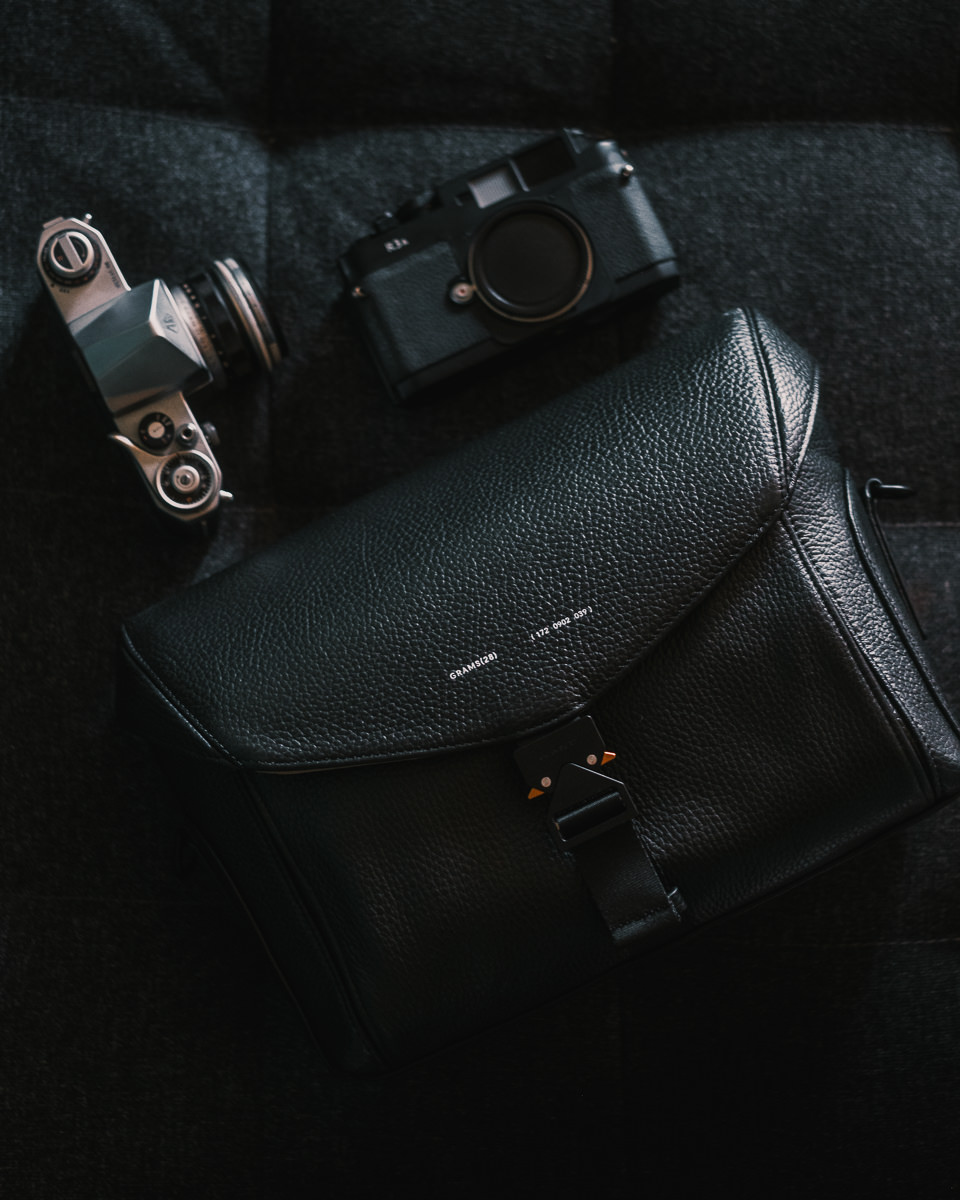
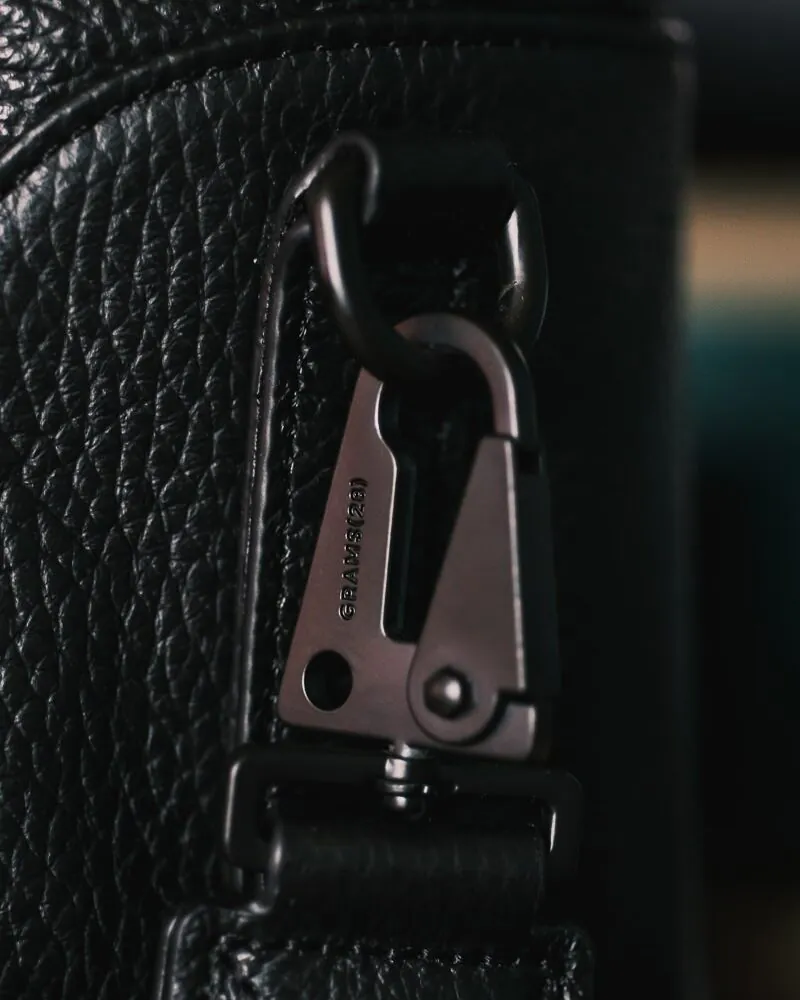
Recently, I picked up a Grams28 172 Camera Sling. The 172 is an elegant and beautifully crafted full grain leather bag. It’s more like a designer bag disguised as a camera carry. But more than that, it’s one of the most well thought out bag I’ve ever owned on the inside and offers a bit more space than my Bowery. You can read my full review of the bag here.
I like pairing this with any of my bigger camera bags or my Wandrd HEXAD Access Duffel. The camera bag would be used to carry all my gear from location to location and the Roam Sling would allow me to carry everything I need in a day in an easy to access and lighter bag.
It’s great that it has so many pockets for organizations and an expandable compartment below the bag for a water bottle or tripod.
Camera Body
My main body since 2021 had been the Fujifilm X-T4. It is a near perfect hybrid camera and offers so many features that were missing on my Sony that I only discovered after I switched. The camera uses a 26.1 megapixel X-Trans IV sensor that delivers very high quality photos and video at 4k 60 fps 4:2:0 10 bit internally. Still a fantastic camera.
But, I recently upgraded to the Fujifilm X-H2, and I love it more in almost every way. 40 megapixels is more than I need. 4K 60 fps 4:2:2 10 bit internal. Great ergonomics. Much better autofocus. The list goes on.
Lenses
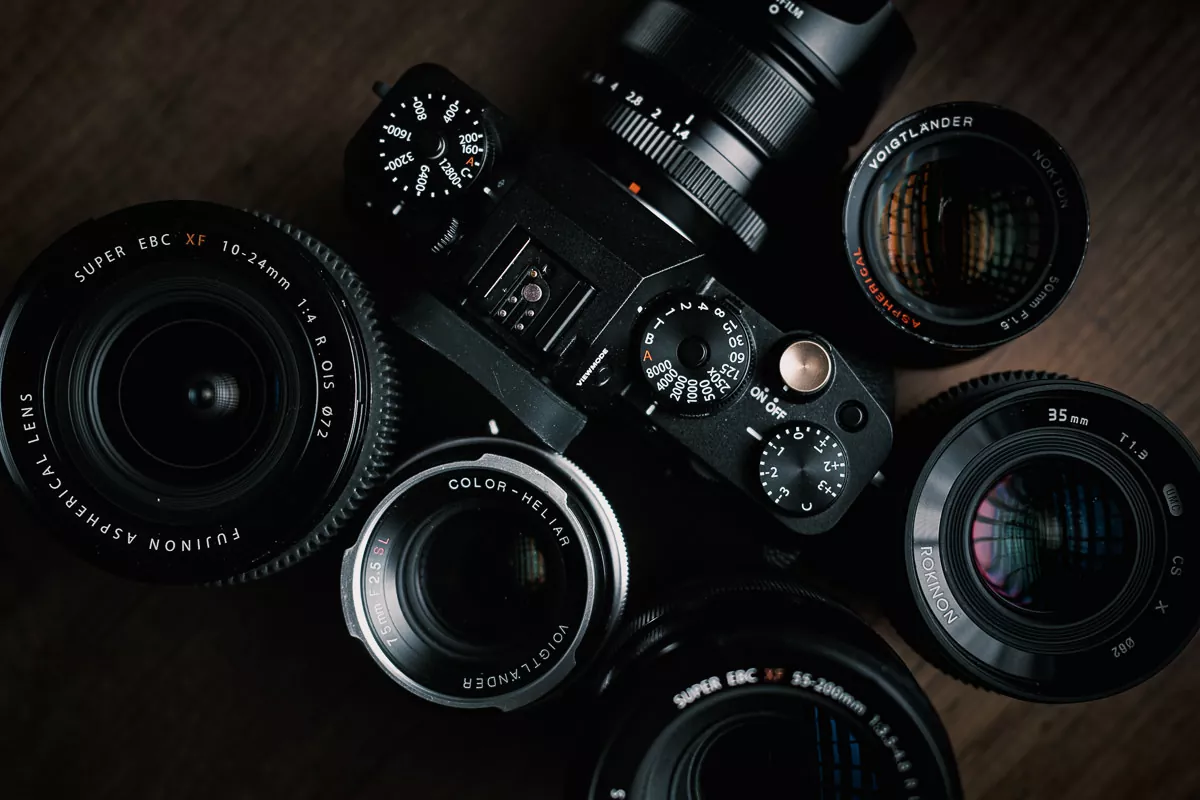
Fujifilm XF 35mm f/1.4: When I did my research and looked photos taken by other Fujifilm shooters, this was the lens that everyone talked about as if they were writing a love letter. On a full frame sensor, this would be the equivalent of a 50mm f/2.0 lens. I’ve gone back and forth over the years as to whether I think the 50mm focal length is too boring, since it is the closest approximation to what our eyes see in the real world. Sometimes I prefer the 35mm look, sometimes I prefer the 50mm look.
I have to admit that I too am falling in love with the 50mm look all over again with this lens. The rendering of color and contrast is just so beautiful. The autofocus isn’t the fastest in the world, but it works just as well as any of the flagship lenses I’ve used when I started shooting in college. If I had to permanently keep one lens on this camera, it would be the 35mm f/1.4.
Fujifilm XF 10-24mm f/4 OIS: This is my bread and butter lens when it comes to landscapes. It gives me a full frame equivalent of 15-36mm f/5.6. The smaller aperture doesn’t bother me because I usually stop down for landscapes anyway. The wide angle 15mm allows me to capture those large sweeping landscapes. Compared to the size of my Sony 16-35mm f/2.8, this thing feels like another prime lens. It gets me everything I’ve ever shot on the Sony, but is lighter and more compact.
Fujifilm XF 55-200mm f/3.5 – 4.8 OIS: This is a treat of a lens for me, mainly because I had previously given up on taking any lens beyond 85mm when I was shooting with a Sony. They were all too big and bulky. There were many times I wished I had a 300mm equivalent to zoom in on some mountains or to compress some layers in a landscape, but just accepted that I wasn’t going to get those shots. Not anymore. This thing comes in under 5” and just over around 1.25 lbs. That’s nothing for a high quality long telephoto lens.
Rokinon Cine DS Lenses
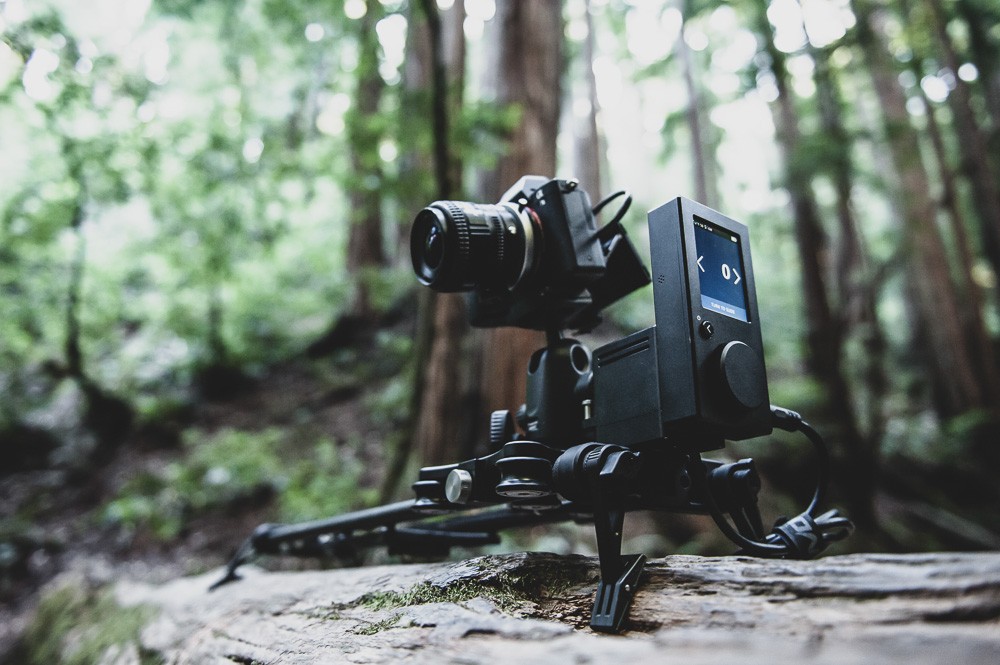
As nice as the some of of the Sony Zeiss lenses are, what I still hate about them is that they use a fly by wire focusing mechanism that doesn’t have a hard start and stop like older DSLR lenses. In layman’s term, this means you can turn the focus ring forever and it will not physically stop. In practice, this is horrible when trying to rack focus for video. For this and a few other reasons, I have a different set of Rokinon manual focus CINE lenses when I’m doing a dedicated video shoot.
Rokinon 35mm t/1.3 Cine: This is the equivalent of a 50mm f/1.8 on a full frame sensor and my main video lens. It’s tiny for a cine lens – almost too tiny. Any smaller and I wouldn’t even be able to attach a follow-focus on it. While I don’t mind having a bigger lens when I rig out my X-T4 for a full on video shoot, I like that I can carry this with me everywhere without the added bulk.
Rokinon 21mm t/1.5 Cine:. This is equivalent to a 35mm f/2.0 lens. I used to shoot with the 35mm t/1.5 version for Sony, so I needed to this for when I want something just a bit wider than the 35mm t/1.3. For a documentary type shoot, this would be the lens that sits on the body 75% of the time.
With the cine lineup, you get a few main features
- De-clicked Aperture ring: This means you can smoothly and silently change aperture settings, which is a very useful feature when shooting video.
- Focus Gear Ring: When I want to use a follow-focus, the built in gear is one less thing I need to worry. It’s a standard 32 pitch focus gear
- Consistent Color Matching: All the lenses are coated to provide a more consistent color match. This saves me some time grading the colors in post-production when I’m shooting everything with the cine lenses.
- Dumb Side Markings: Scale markings on both sides of the lenses for ease of use in a production setting. I don’t really care for this since I’m mostly a one-man shooter.
Generally, Cine lenses cost a lot of money. Even Rokinon’s XEEN line costs bout 10 times as much as the Cine DS line. The optics are the identical, but the body construction is built to accommodate for more larger production shoots. I won’t go into too much detail here, because this is not the right post for it, but for my needs, the Rokinon Cine DS line is good enough.
Adapted Lenses
Voigtlander 40mm f/1.4 SC Classic: I love shooting at the 35mm focal length, so the Rokinon 35mm T1.5 Cine DS is one of my most used lens. Unfortunately, it’s pretty large and sometimes I just miss carrying a small body and a small accompanying lens. For those times, I put on this beautiful “vintage” lens that has beautiful bokeh and character.
I have bought the 35mm and 40mm option. Why so similar in focal length? I first bought the 35mm and it broke, but I needed another Voigtlander lens for my Bessa R3A, so I went with the cheaper but just as good 40mm option. I love this lens more for photos. To use it, I adapt to the Fujifilm system with a helicoid adapter that allows it focus even closer than the lens would originally. It’s fantastic.
Part of the “character” of this lens is a bit of vignetting. While I don’t mind this for photos, it can get annoying for videos when shooting wide-open at f/1.4. It becomes problematic and visually jarring to see vignetting in some shots and not in others when I’m putting together a film using footage from a mix of lens. Still, here’s a film I shot almost entirely on this lens and I loved how it turned out.
Nikon Micro-Nikkor 60mm f/2.8: I adapt this old Nikon lenses because it’s a cheaper option to get beautiful macro shots. It’s the only Nikon lens I still keep around to adapt to use on my Sony cameras.
Film Accessories
SmallRig Sony Half Cage: I use a cage to protect my camera and also add more video-centric accessories. I specifically use the half cage, because I still prefer holding onto my camera using the grip. The cage also blocks easy access to the C1 and C2 buttons, which I use a lot. SmallRig makes low cost quality cages, so I like going with them.
SmallRig Wooden Handle: This is a beautiful handle that I add to the left side of the cage to hold onto my camera. It gives me stability when I shoot as well.
SmallRig Top Handle: When I walk around, I prefer to have the top handle.
Rode Videomic Pro Plus: One of the best value shotgun mics to add to your rig. The Pro Plus version has one feature that is indispensable for me: auto on/off. It’s so nice that the shotgun mic will turn on and off with my camera so that I never accidentally forget to turn it on when I need it or leave it on when I don’t and drain the battery. With the right settings on your camera and mic, you can get really clean sound with this thing.
Deadcat: This goes around the mic and adds a level of wind protection. It also looks really fluffy and is nice to touch.
Rode Wireless Lavalier Kit: This is a very affordable and portable wireless lavalier kit. Attach the receiver to your camera and attach the lavalier mic to the transmitter and you can record lavalier audio directly to the camera without long wires.
Zoom H1N Recorder: I use this to record ambient sound effects for my videos. It’s also a good way to record a second source of audio for interviews just in case my main source is funky.
SensorKlear Pen: A must buy for every photographer. This thing allows me to quickly clean my sensor without damaging it. It picks up small specks of dust and any other debris or smudge on the top glass of the sensor. Keep this with you at all times.
External Hard Drives
Sandisk Portable SSD: This is go-to “working drive”. It’s a fast SSD drive that’s the size of a stack of credit cards that allows me to edit photos and videos much faster than other portable hard drives. I carry two 2TB drives,
LaCie USB-C External Hard Drive: I carry a 4TB versions of this drive to back up my data on the road. When I’m done with a project on my “working drive,” I transfer it over to this and back it up. I separate the drives when I travel, just in case.
Extras
MeFoto BackPacker Air Tripod: This is my smallest tripod that I feel good about using. It’s not the best or the sturdiest, but it’s more than good enough and the tiny form factor means I’d consider bringing this along and have a tripod rather than no tripod because I didn’t want to deal with the extra weight. It might be discontinued now, but if you can get your hands on one for cheap, I’d consider it.
KODAK INSTAX MINI LINK: The coolest piece of gadget I take with me. This little device allows me to print business card size ‘polaroid’ photos while I’m on the road. In places like Cuba and Mongolia, I’ve been able to take photos of people and give them a little memento to keep instead of just showing them their photo on a tiny screen.
We take and consume so much when we travel that it’s a small way to give back. I highly recommend EVERYONE carry one of these around. It’s so much fun to give people an actual print and it’s a hit with everyone I meet. It combines the nostalgia on instant film with modern technology and allows me to print the nice photos from my real camera almost instantly with a wireless connection.
Looking for some travel inspirations? Scroll through some of the 450+ experiences on my bucket list. Maybe you’ll find your next adventure on there.
How You Can Help
If you’ve found the content useful, you can help support this site by using these links when you plan and book your trip.
| Booking.com | Agoda.com |
| Amazon.com | Klook.com |
| Viator.com | GetYourGuide.com |
Updated on June 3, 2024

