The Narrows Bottom-Up Hike Complete Guide 2024
The Narrows Bottom-Up Hike Complete Guide 2024
The Narrows isn’t just any hike – it’s a journey through one of America’s most spectacular slot canyons. Carved over millions of years by the relentless forces of water and time, this 16-mile-long canyon offers one of the most unique hiking experiences in all the national parks.
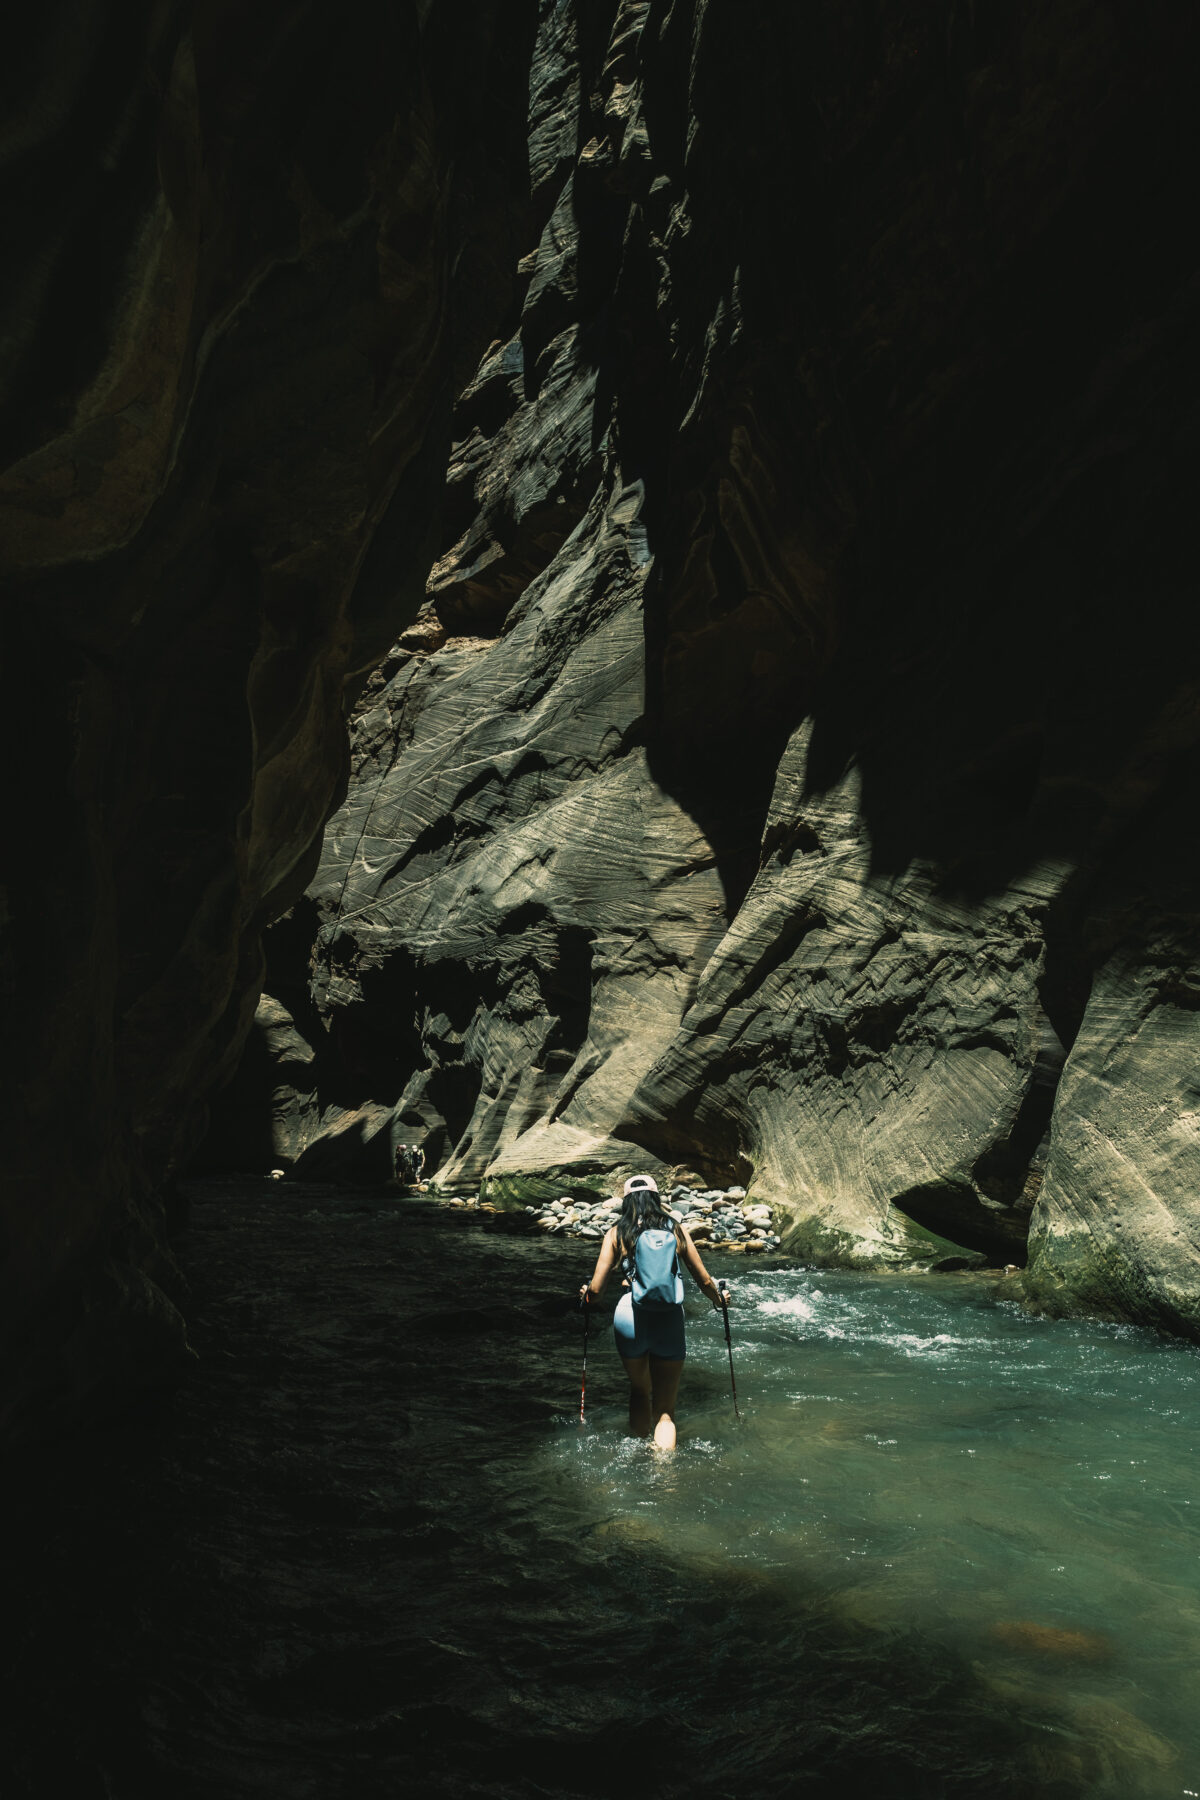
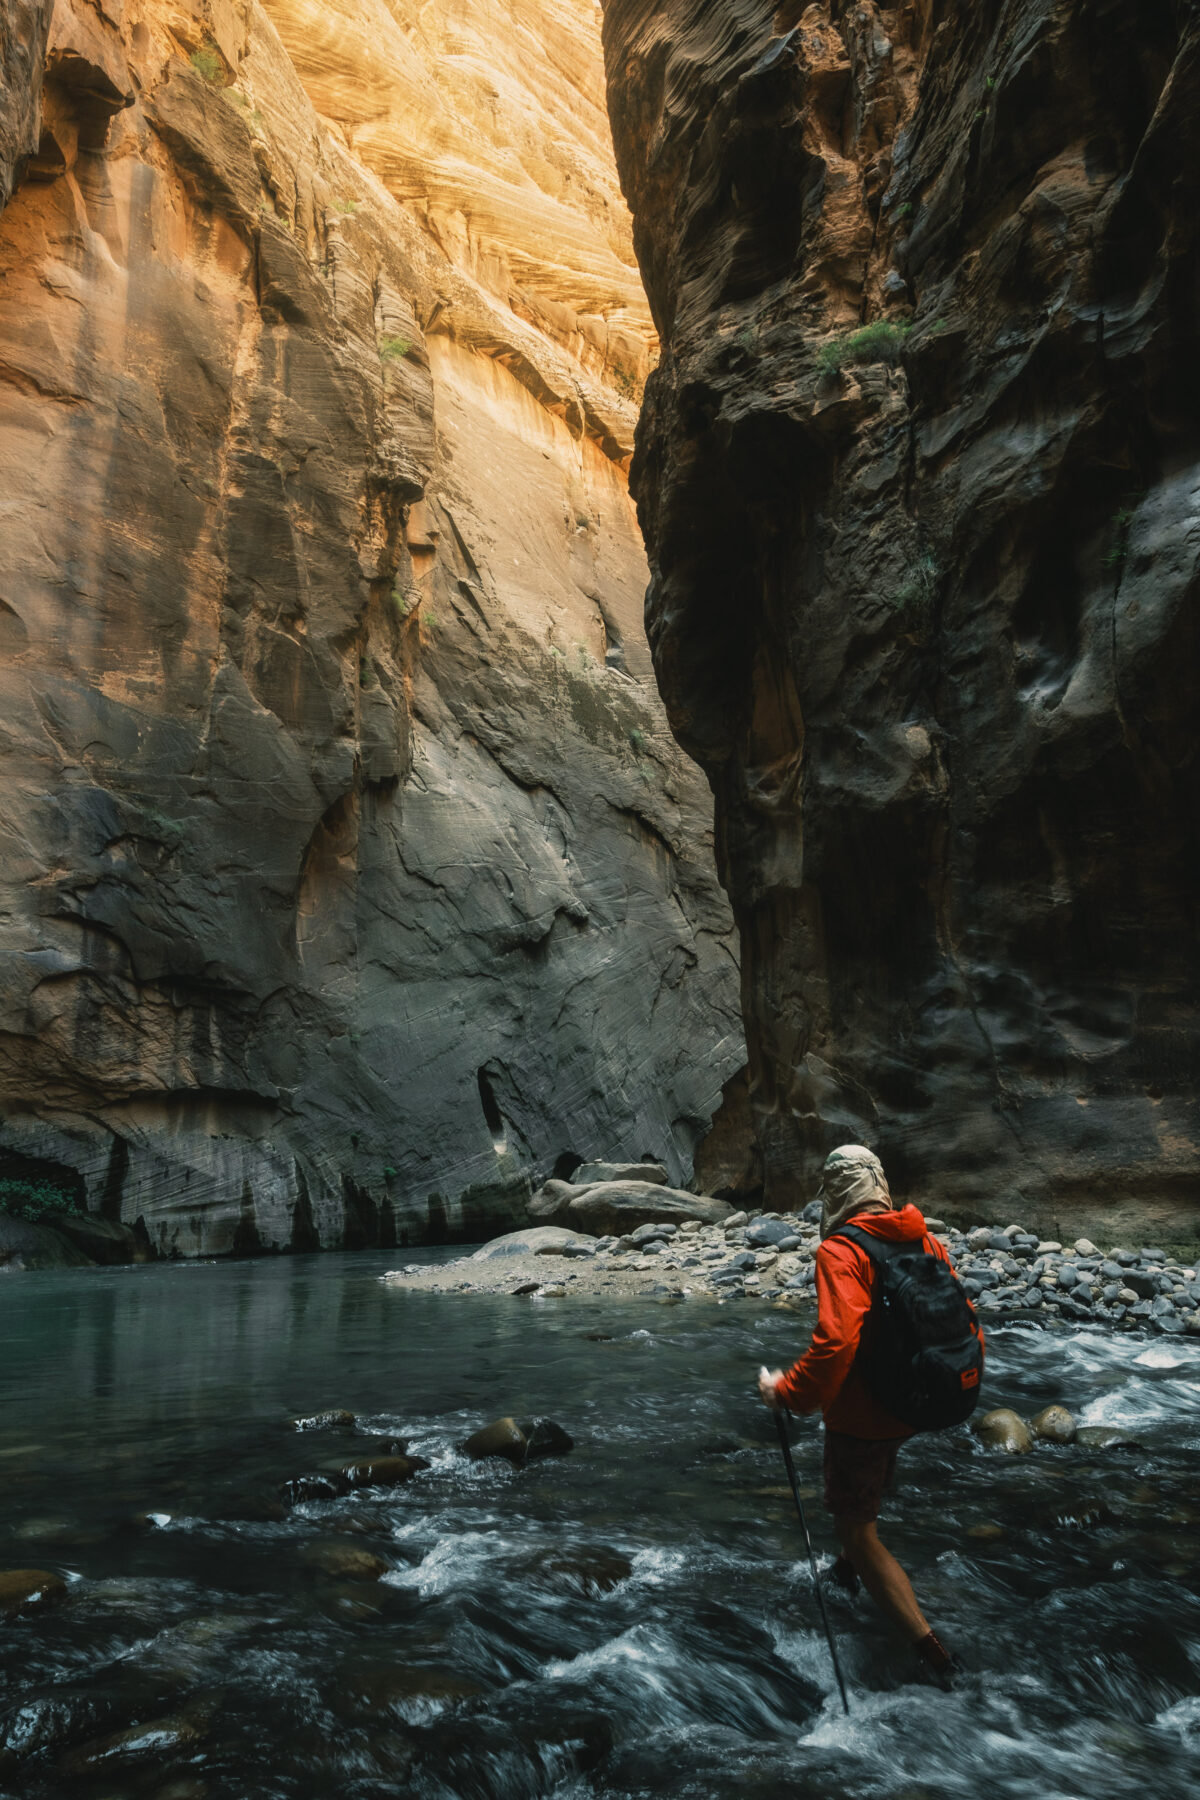
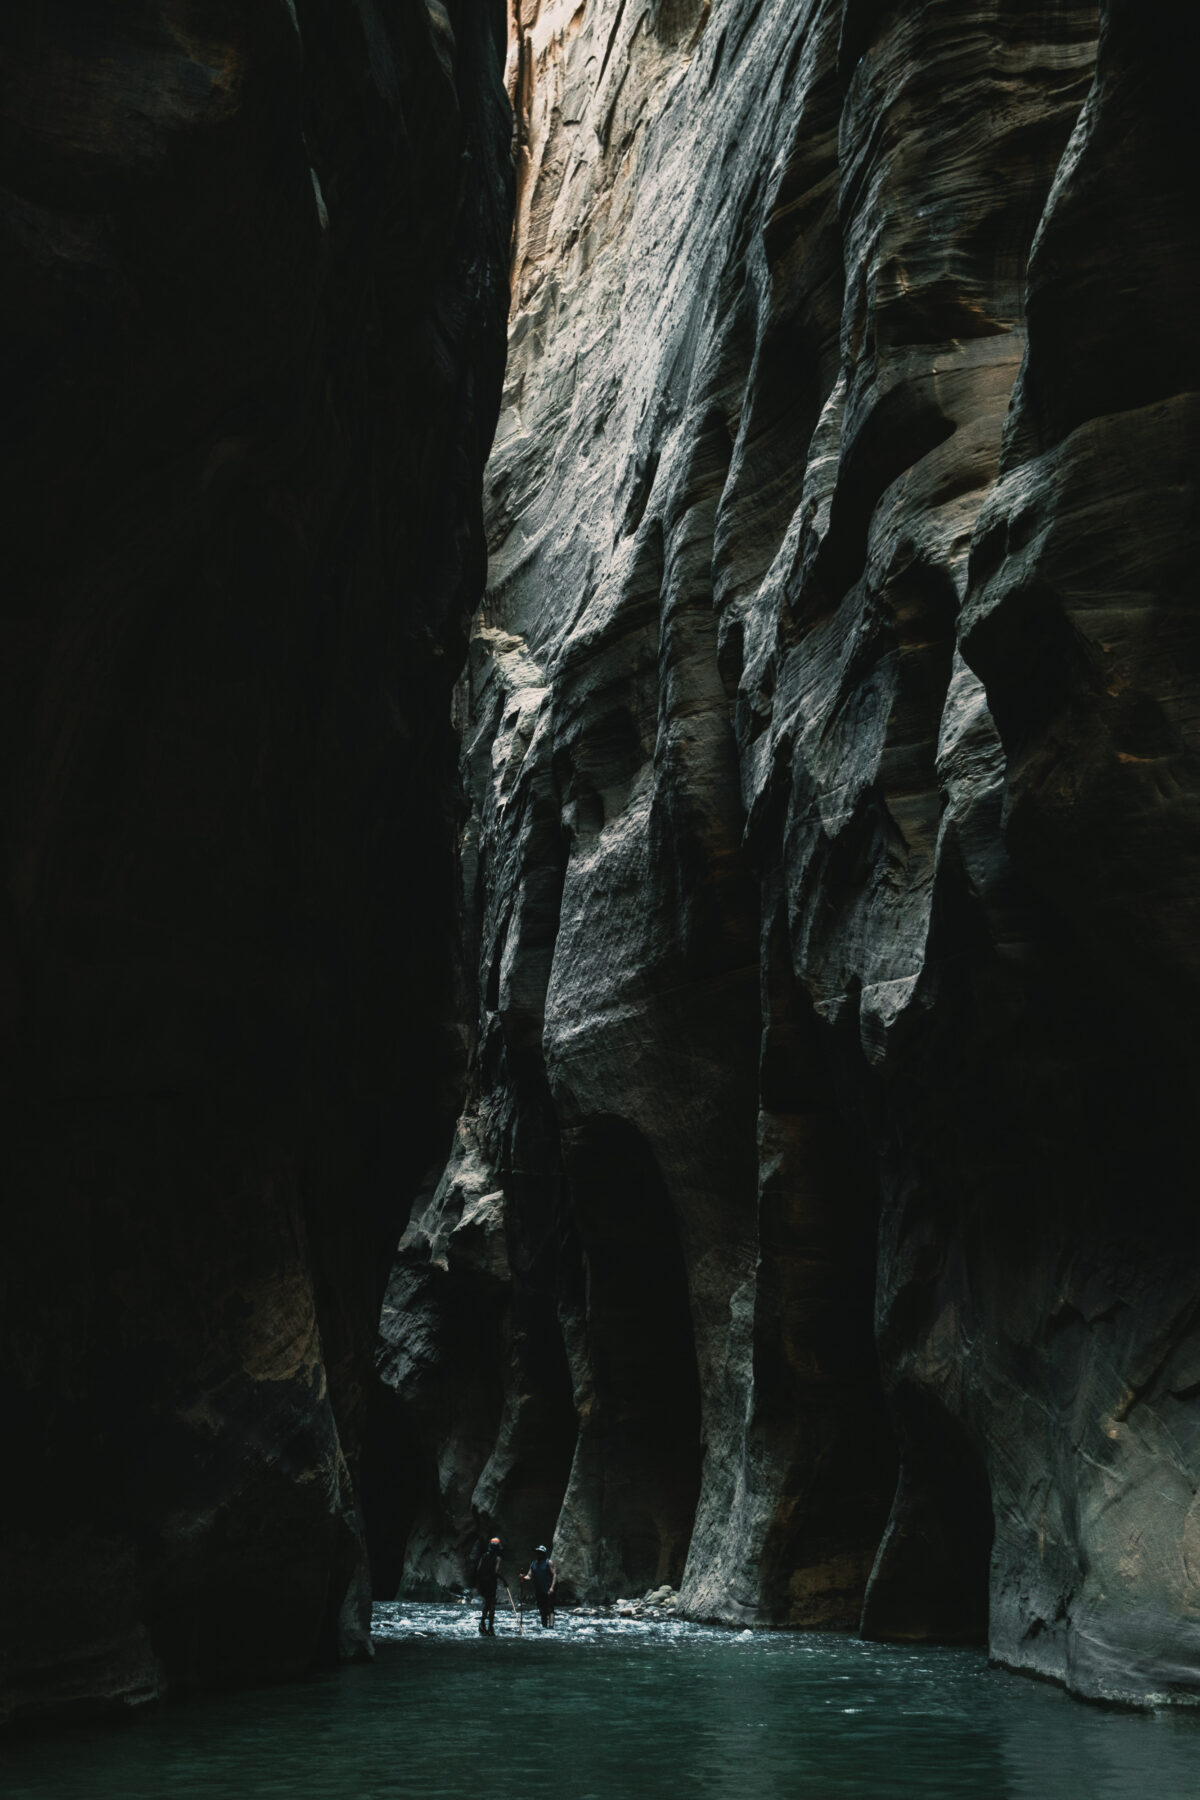
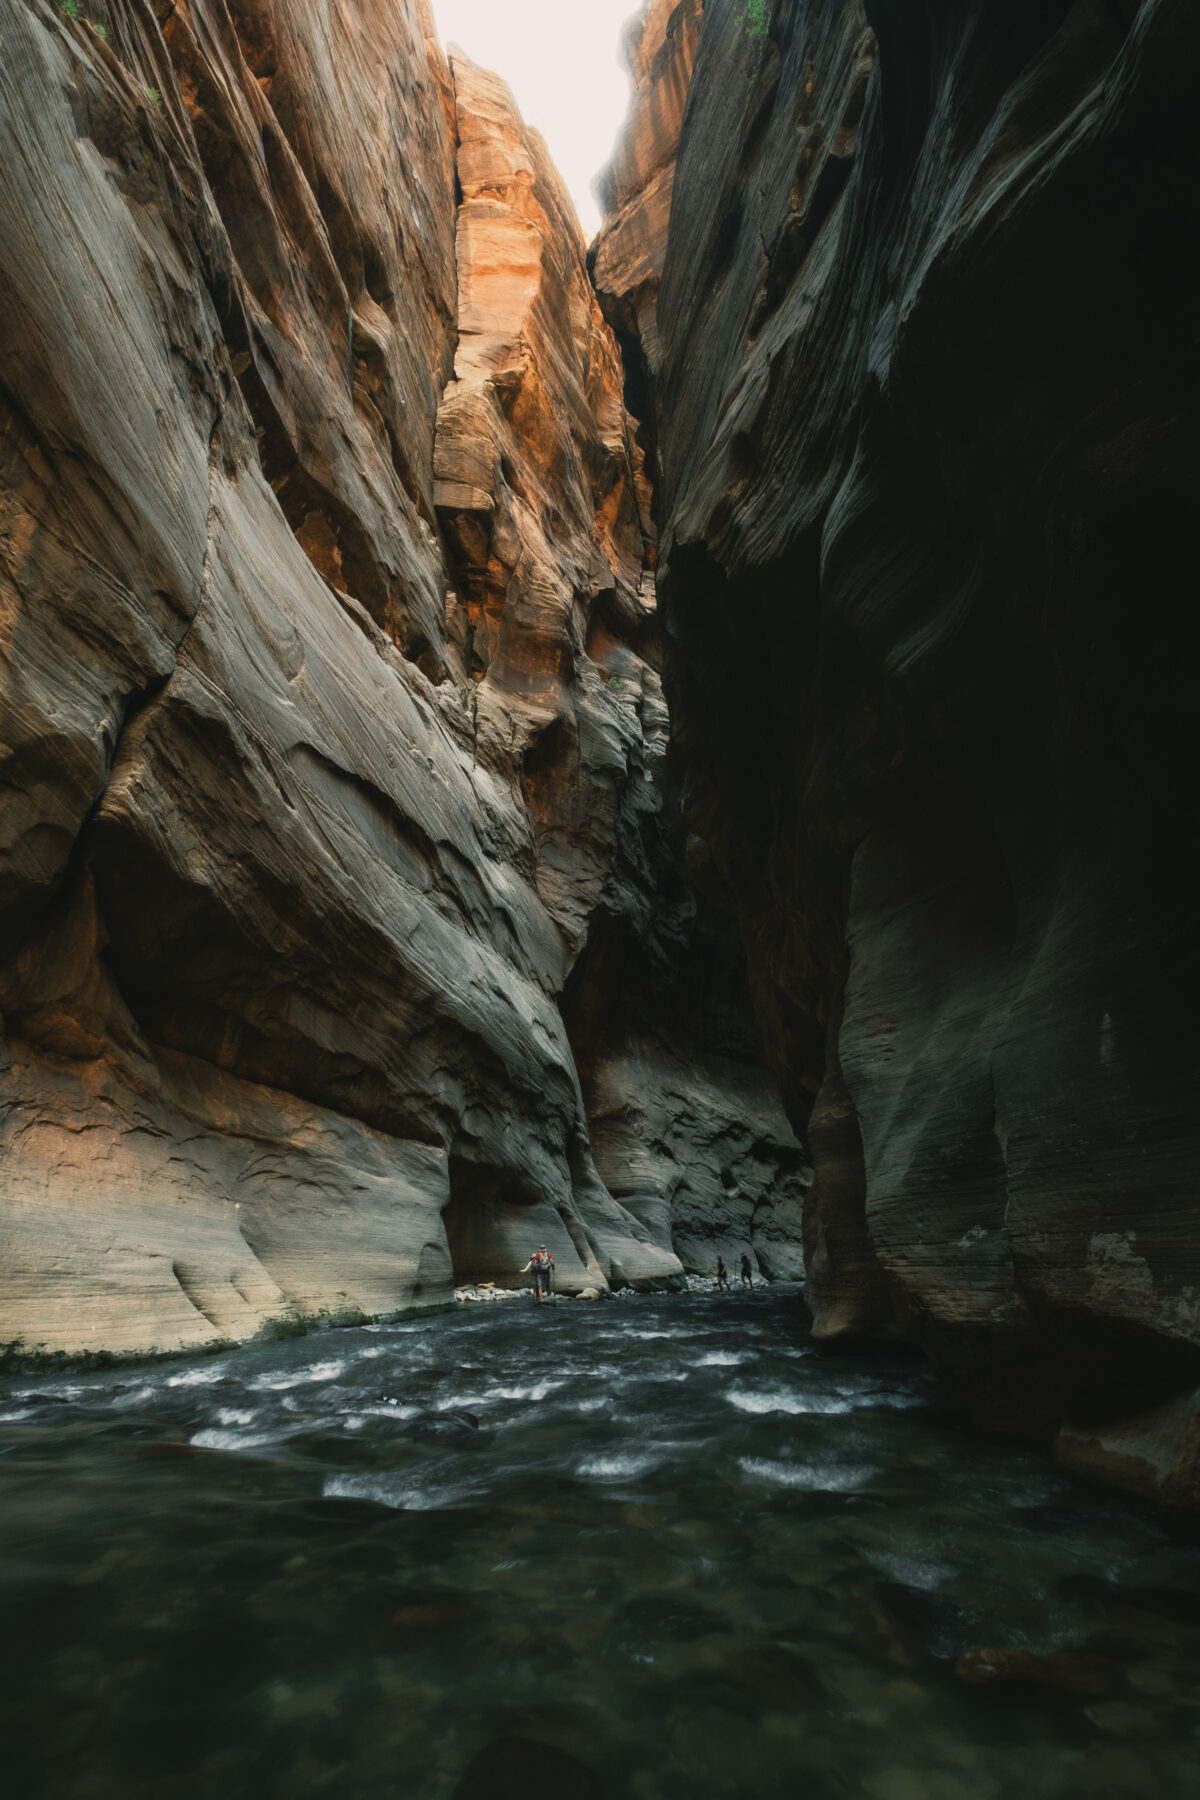
The hike takes you right through the North Fork Virgin River, with the water reaching up to your chest at points and sometimes even requiring a swim. On both sides, the towering walls of Navajo sandstone rise like ancient giants, making you feel incredibly small in comparison. The intricate layers and dramatic formations tell a story millions of years in the making.
Whether you choose to hike from the bottom-up or take on the full 16-mile top-down route, The Narrows is a bucket list adventure worthy of a trip to Zion National Park. Below is my complete guide and trip report from hiking The Narrows, along with insights into why I chose the Bottom-Up route.

Three Ways To Hike The Narrows
1. Bottom-Up Day Hike (Recommended For Most People)
Distance and Duration: Up to 10 miles round trip to Big Springs and back, 4 to 8 hours. Most people turn around at the 2.5 mile mark at the junction split.
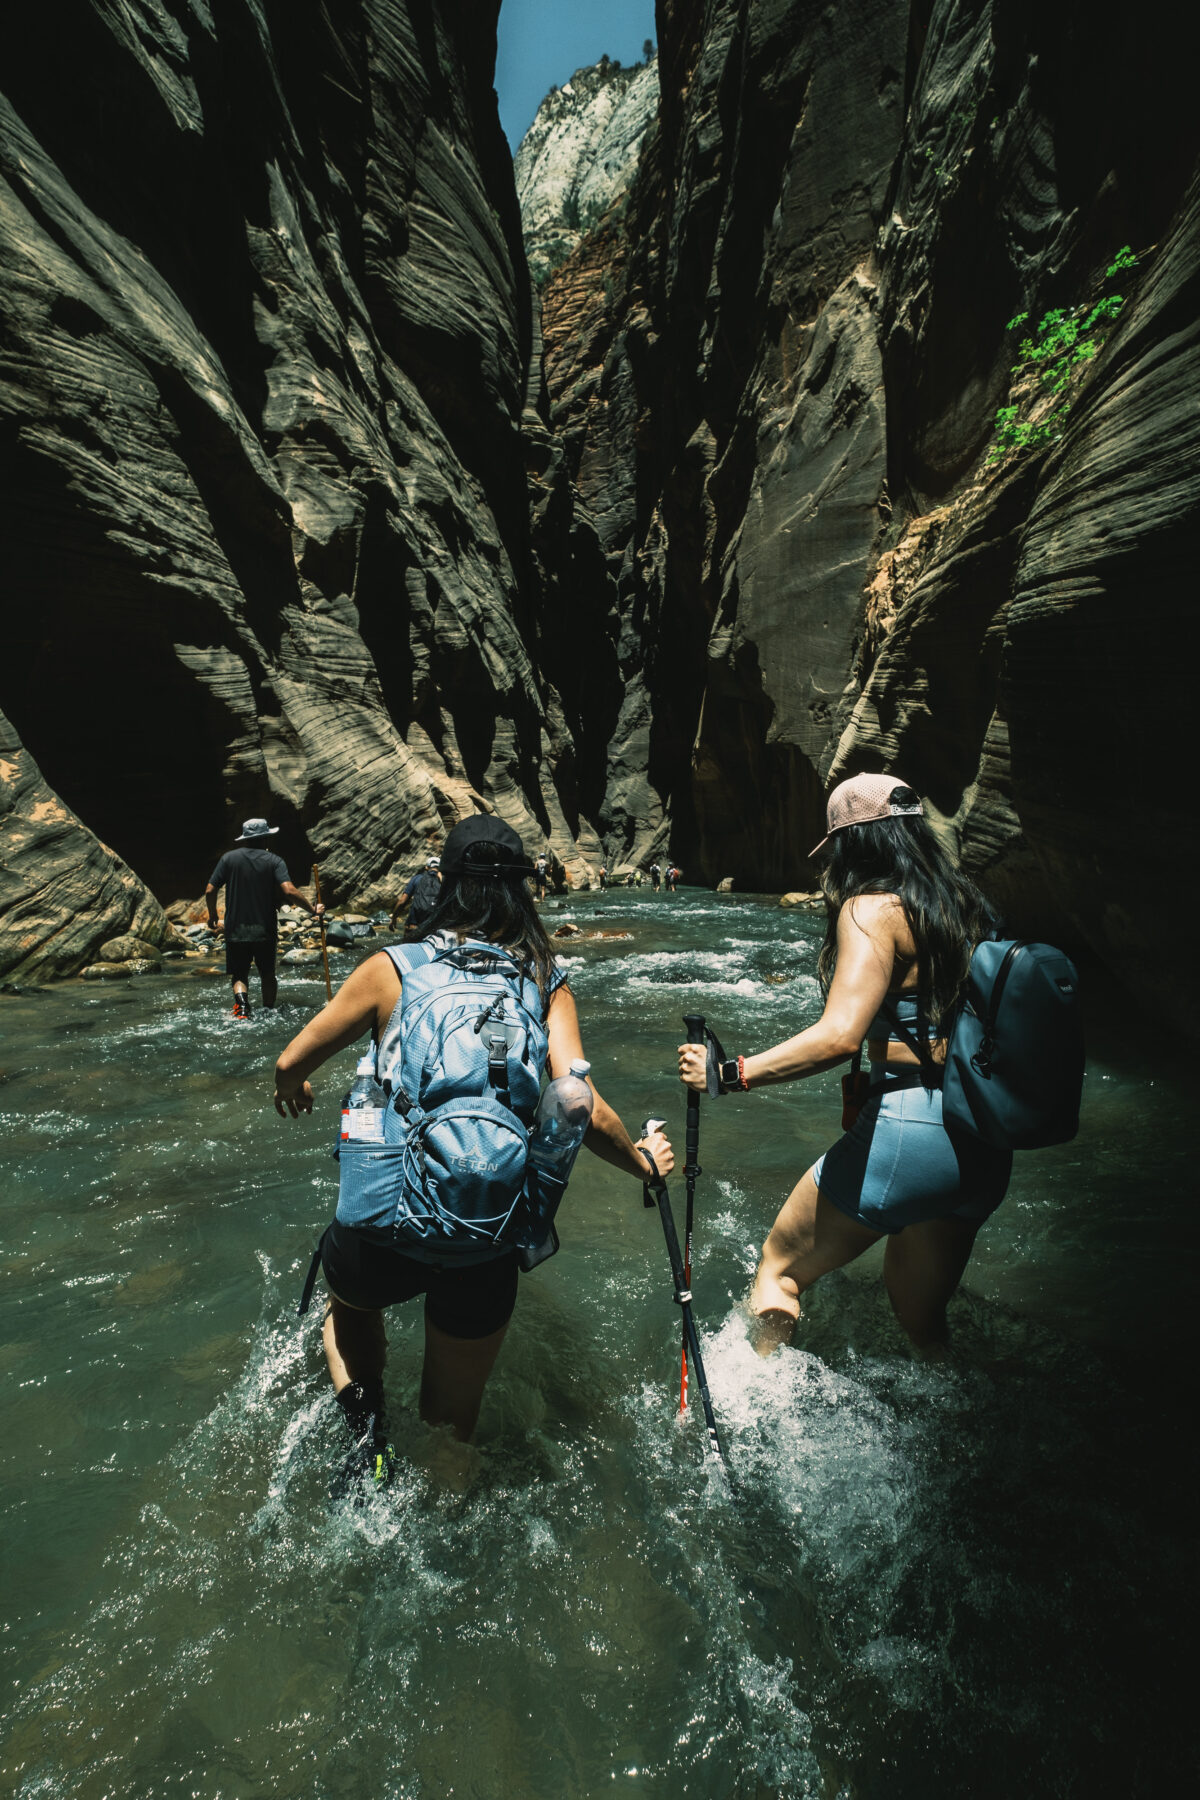
What To Expect: Moderate. This trail is great for everyone and you can turn around at any point. The first mile is a paved riverside walk. The rest of the is mostly on small stones and boulders in the river. Expect to get wet up to the waist and chest level at a few points depending on the season. You will be going against the current on the way up and with the current on the way down.
Expect an average pace of about 1-1.5 mph hiking up and about 1.5-2 mph on the way back.
The trail will be crowded up until the junction when you’ll find fewer hikers. The latter half of the hike is arguably the most beautiful section, so if you can make it this far, it’s absolutely worth doing.
Jump ahead to read about my full experience hiking the Bottom-Up trail this year.
Permit: None needed.
Best For: Those who want to experience the Narrows without having to commit to an overnight camping trip and obtaining a permit through the lottery. Good for everyone including families and children (when hiking with care and attention). There will be plenty of people along the trail if you don’t want to hike alone.
Start/Finish Point: The trailhead starts at the Temple of Sinawava (Stop 9). This is about a 30-40 minute free shuttle ride from the Zion Canyon Visitor Center (Stop 1). You can hike about 4.5 miles up to Big Spring and return the same way you came and finish at the Temple of Sinawava.
2. Top-Down Hike with Overnight Camping (The Full Experience But Requires Planning)
Distance and Duration: 16 miles over 2 days.
What To Expect: Strenuous but paced. You’ll have two days to cover the full distance with 12 campsites along the way. Campsite 1 is a 9 mile hike from the trailhead, leaving 7 miles for the second day. Campsite 12 is 11.5 miles away from the starting point (the end point for the Bottom-Up trail), so you’ll only have 4.5 miles to cover the next day.
The whole hike is downhill and down river, so you won’t have to fight against the current. Expect to hike around 1.5-2.0 mph depending on whether you are taking the overland sections or hiking completely in the water. There are two waterfalls that you need to hike around, but otherwise the trail is straightforward.
Day 1 will be longer, so start as early as possible. The visitor center opens at 8 am, so if you might want to pick up your permit the day before if you want to start earlier. Paid shuttles to the trailhead at Chamberlain’s Ranch take about 1.5 hours. You can take the free Zion shuttle back from the Temple of Sinawava when you finish the hike.
Permit: Required. See below.
Best For:
Those looking for a fully immersive experience of hiking The Narrows with camping. About two-thirds of the hike will be relatively empty, offering peace and solitude. While some of the best parts of the canyon can be accessed on the Bottom-Up day hike, the top-down route provides a comprehensive adventure.
You’ll have to carry all your water for at least Day 1 with a possibility to refill water at the Big Spring if there is flow.
Start/Finish Point: The trailhead starts at Chamberlain’s Ranch located 1.5 hours drive from the Zion Visitor Center. Red Rock Shuttle offers departure times at 6:00 am, 9:30 am, 1:00 pm and 5:00 pm for $60 with 3 passenger minimum. You’ll finish at the Temple of Sinawava and can take the 40 minute free shuttle back to the Zion Visitor Center.
3. Top-Down Hike in One Day (Full Hike But Difficult)
Distance and Duration: 16 miles, 10 to 14 hours.
What To Expect: Strenuous. This is for experienced hikers only. 16 miles is a tough distance to hike on dry land, but you’ll be going quite slow in the water with the uneven rock bed. Going downstream saves some effort compared to going against the current, but when the river flow is high, it is easier to be pushed off balanced finding your steps.
Expect to hike around a 1.5-2.0 mph pace. The earliest shuttle to the trailhead at Chamberlain’s Ranch leaves at 6 am, meaning a 7:15 am start time. This option should only be hiked during the summer months when there is a longer day.
Permit: Required. See below.
Best For: For those who want to complete the full Narrows hike without carrying all the extra equipment for camping.
Start/Finish Point: The trailhead starts at Chamberlain’s Ranch located 1.5 hours drive from the Zion Visitor Center. Red Rock Shuttle offers departure times at 6:00 am, 9:30 am, 1:00 pm and 5:00 pm for $60 with 3 passenger minimum. You’ll finish at the Temple of Sinawava and can take the 40 minute free shuttle back to the Zion Visitor Center.
Zion Canyon Shuttle Schedule
For most of the year, a free shuttle is provided to access the major spots throughout the park. Driving through the park is not allowed whenever the shuttle is running. Below are the operating dates and times.

How to Apply For The Narrows Lottery Permits
To hike The Narrows from the Top-Down, whether as a one-day adventure or an overnight camping trip, you’ll need a permit. Here’s a detailed guide to the three (3) different ways to obtain a permit:
Advance Lottery (3 Months In Advanced)
Half of the permits are giving out during the Advance Lottery, but this requires planning as the dates can be confusing. Check out the chart below. There are important dates to remember if you want the best chance at getting permits when they are made available.

You can apply for the day-use permit here and the overnight permit here.
For example, if you want to hike on February 14th, you will need to check and starting on January 5 at 10 am MST. If you want to hike on April 1st, you will need to apply starting March 5th at 10 MST.
The availability chart is quite user-friendly, indicating sites that still have availability, and the sites that have walk-in availability. For the latter, you’ll have to come to the Visitor Center Wilderness Permit desk the day before or the morning of your hike.
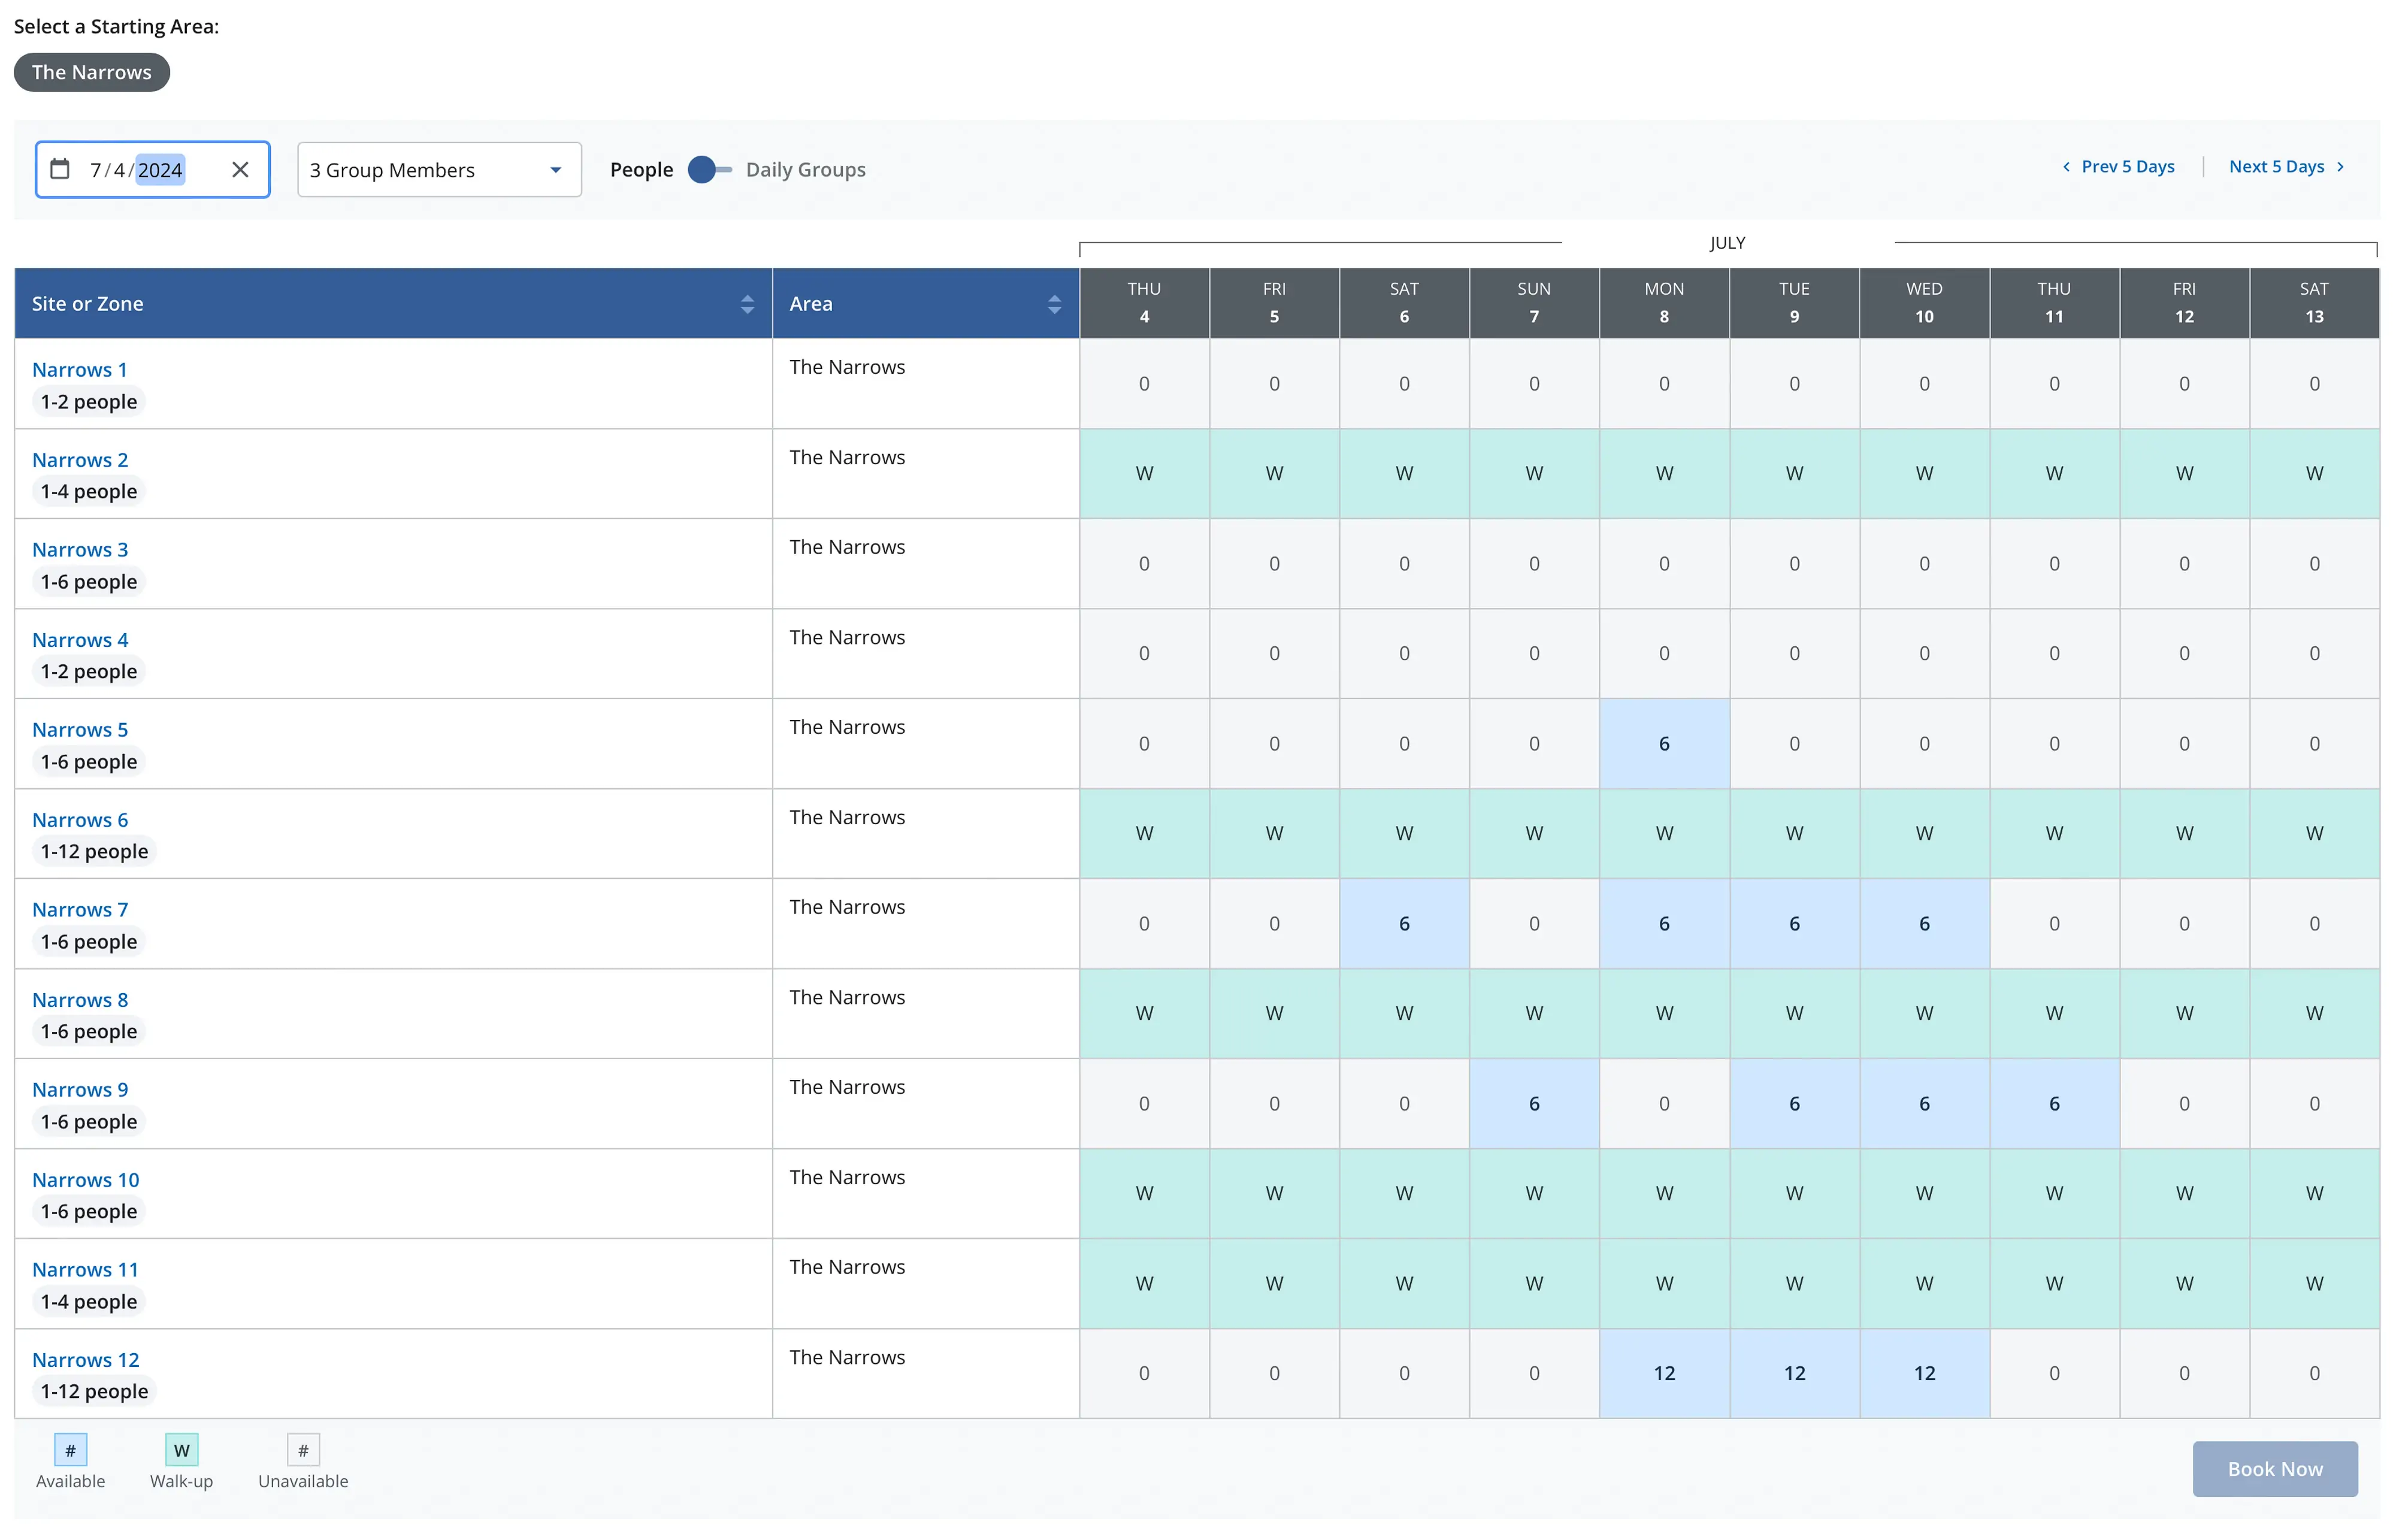
Daily Lottery (Only for One-Day Hike Through)
When the Advance Reservations options are fully booked, you can apply for a permit through the Daily Lottery 2 days in advance of when you plan to hike. The lottery opens at 12:00 am MST and the drawing is at held at 3:00 pm MST with results being sent out at 4:00 pm MST.
For example, if you want to hike on July 4th, you need to apply at midnight on July 2nd.
Walk-In Permits
A limited number of walk-in permits are available on a first-come, first-serve basis at the Zion Canyon Visitor Center the day before or on the morning of your.
Half of the backpacking campsites are available on a first-come, first-serve, walk-in basis, so you can check on the Advance Reservation page to see which sites are available. Usually, it is Campsites 2, 4, 6, 8, 10, and 11.
Day Use / Canyoneering Permit Fees
Lottery Application Fee or Advanced Reservation Fee: $6 lottery application fee
Per Person Fee: $10 per person
The reservation fee (in lieu of the lottery application fee) and per person fee are also charged for first-come, first-served permits that are issued in person.
Overnight Permit Fees
Permit Fee: $20 per permit
Per Person Fee: $7 per person per night
The same fees are charged for reservations as well as first-come, first-served permits that are issued in person.
Best Time to Hike The Narrows
While you can technically hike the Narrows year-round, your experience and enjoyment very much depends on the time of year and water flow.
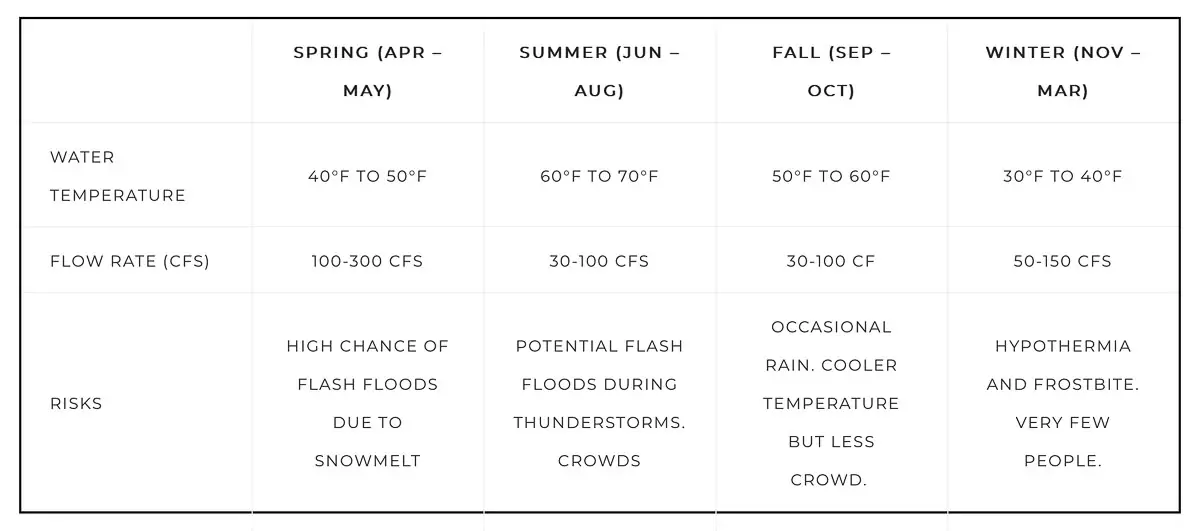
Spring
Practically speaking, it’s best to avoid the spring months due to the heavy water flow from snowmelt. The river’s current can be strong, making it challenging to walk against, and the water is still quite cold. Spring hiking often requires additional gear and preparation to handle these conditions.
Winter
Winter presents its own set of challenges with cold water and air temperatures. A proper dry suit or full-body wader/bib is essential to prevent hypothermia. The solitude and unique winter landscape are appealing, but the frigid conditions require serious preparation and caution.
Summer
Summer is a great time to hike The Narrows despite the high air temperatures. The canyon stays relatively cool, providing a refreshing escape from the heat. While you will encounter more crowds, it’s manageable and part of the experience. However, it’s crucial to monitor the weather closely for rain, as summer thunderstorms can lead to dangerous flash floods.
Fall
Fall is an ideal time to hike The Narrows, offering the best balance of crowd size and conditions. The river flow is usually at its weakest, resulting in lower water levels and an easier hike. The slightly cooler water temperature is still very manageable with some basic layers and neoprene socks. Fall also sees fewer crowds compared to summer, allowing for a more peaceful and enjoyable hike.
Understanding CFS (Cubic Feet per Second) in The Narrows
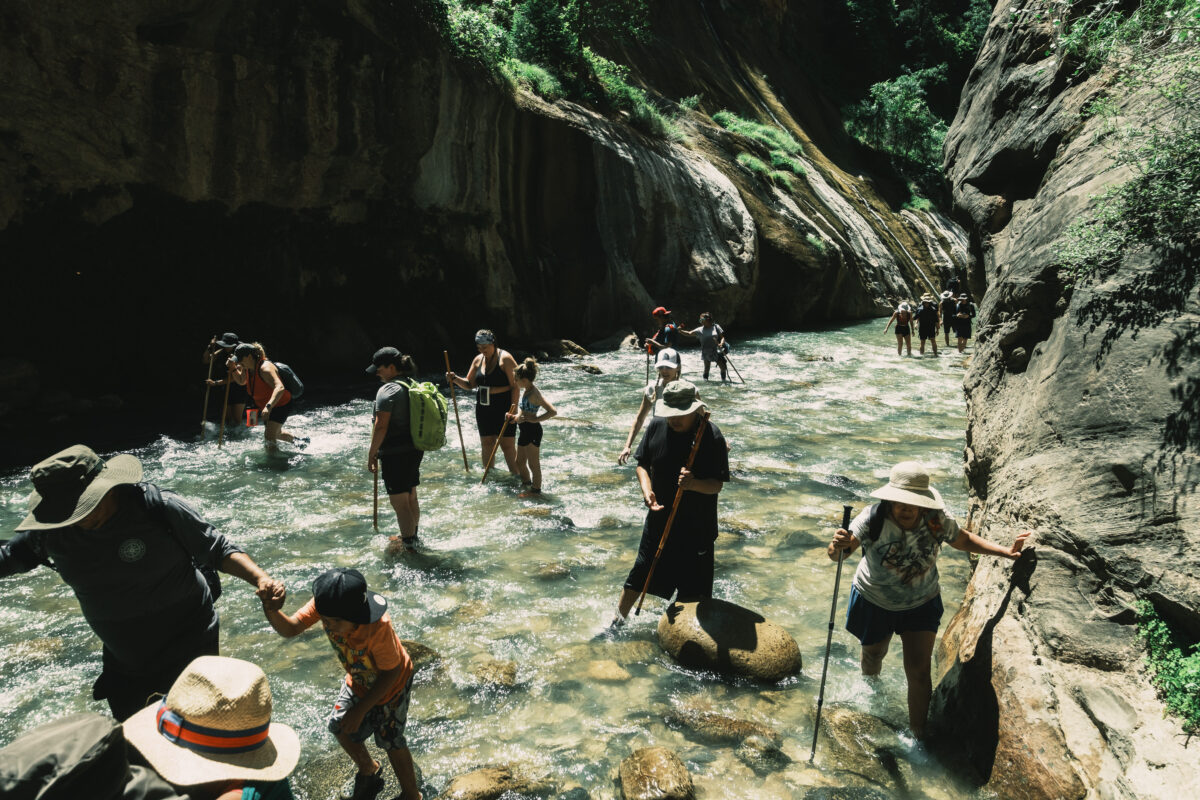
The CFS (cubic feet per second) flow rate can be an abstract concept because many factors affect a river’s speed, current, and water levels. Here’s a breakdown to help you understand what these numbers mean for your hike in The Narrows:
30-60 CFS: This is a good low number for hiking. The water will typically only reach your waist or chest a few times, and the current isn’t too strong. At 50 CFS and up, you’ll start to feel the current pushing at your feet, but it’s still manageable for most hikers.
70-100 CFS: Marginal increase in both the water levels and the speed of the current. Exercise more caution when crossing the river laterally, as the current will be stronger and more challenging to navigate. Expect your pace to be slowed by the water. You’re near the end of when it stops being advisable to hike.
Above 100 CFS: The water flow is quite strong, so you’ll need to be extra careful with your footing and pushing through deeper sections. At this level, the hike becomes significantly more challenging, and only experienced hikers should attempt it.
150 CFS and Above: The Narrows is closed when the flow rate exceeds 150 CFS due to the dangerous conditions created by the high water flow.
Trip Report: Hiking The Narrows Bottom-Up In June
For reference sake, I hiked on June 7th. The flow rate was around 60 CFS, and the water temperature hovered around a brisk 58°F while the air temperature was a blistering 104°F.
We drove an hour from St. George that morning and arrived to the Visitor Center at 9:30 am. We were luckily still able to find parking there, but it was mostly full. I recommend arriving an hour earlier if you can.
The Shuttle: After filling up our water and checking the conditions, we waited about 20 minutes in line for the shuttle. It’s supposed to take about 40 minutes to get to the starting point at the Temple of Sinawava (Stop 9), but it was faster that morning.
Riverside Walk: We started our hike around 11 am with the 1 mile Riverside Walk, a nice and easy paved trail where we got a sense of the crowd. This part was packed with people of all ages and fitness level. It was a nice cool walk with a lot of shade coverage. My friends and I did this part in about 20 minutes.
Entering The Narrows: At the end of the paved path, there’s a dead-end with benches and stairs leading you to the North Fork Virgin River. For me, this was the true start of the hike when you take that first step into the river and get your shoes wet. I found the water to be more refreshing than cold.

From Ankle To Chest: For the next few hours, we slowly followed with the crowds in and out of the water up the river. It was definitely very crowded, but I honestly didn’t mind. What was surprising was seeing how many families there were doing the hike.
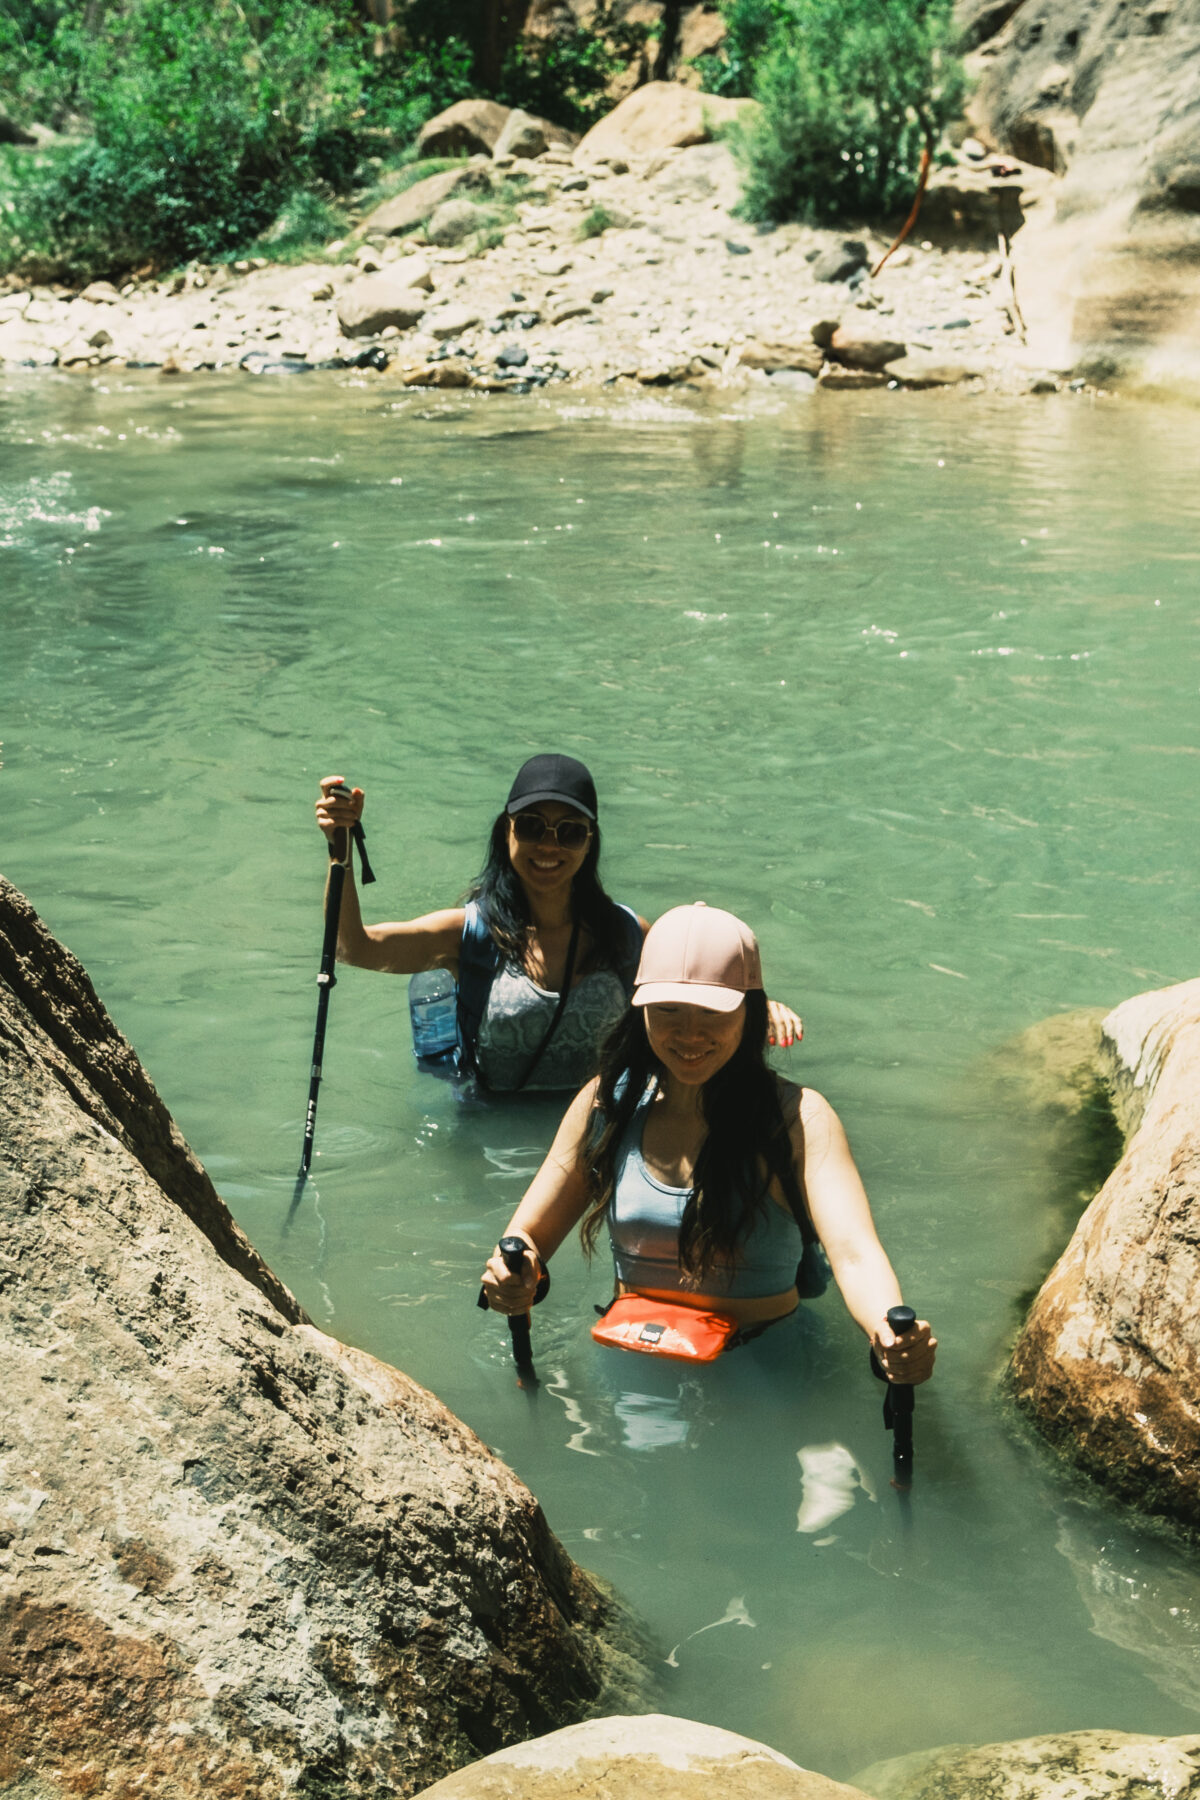
Most of the hike was ankle to knee deep in the water. There were a couple of sections where the water went up to around my waist and chest. Parents carried their kids through these sections, but otherwise, the water was calm enough even for children.
There were some shady spots, it was quite exposed for most of the first couple of hours. I was glad to have my lightweight shell and safari cap that covered my neck.
Lunch Break: About three hours in, we found a spot to lunch. Sitting there, surrounded by the canyon’s grandeur, was surreal. We could hear the water rushing by and the occasional echo of distant hikers. It was one of those moments where you just have to pause and take it all in.
There were many points where we stopped for photos, but I’ll tell you this. It keeps getting better.
Orderville Canyon Junction: Overall, the water level was very manageable, but having a hiking pole was still necessary to help with balance on the uneven rock bed. I found the rocks to be quick grippy with my shoes, which was very comforting. Throughout the entire hike, I didn’t slip once.
At some point, the canyon walls started to close in and blocking out the sun, making for some incredible photos. The crowds were still there, but we just had to wait a bit to get an empty background.
About 2.5 miles in, there’s a split. You can explore about the trail on the right for a bit, but the main path goes left.
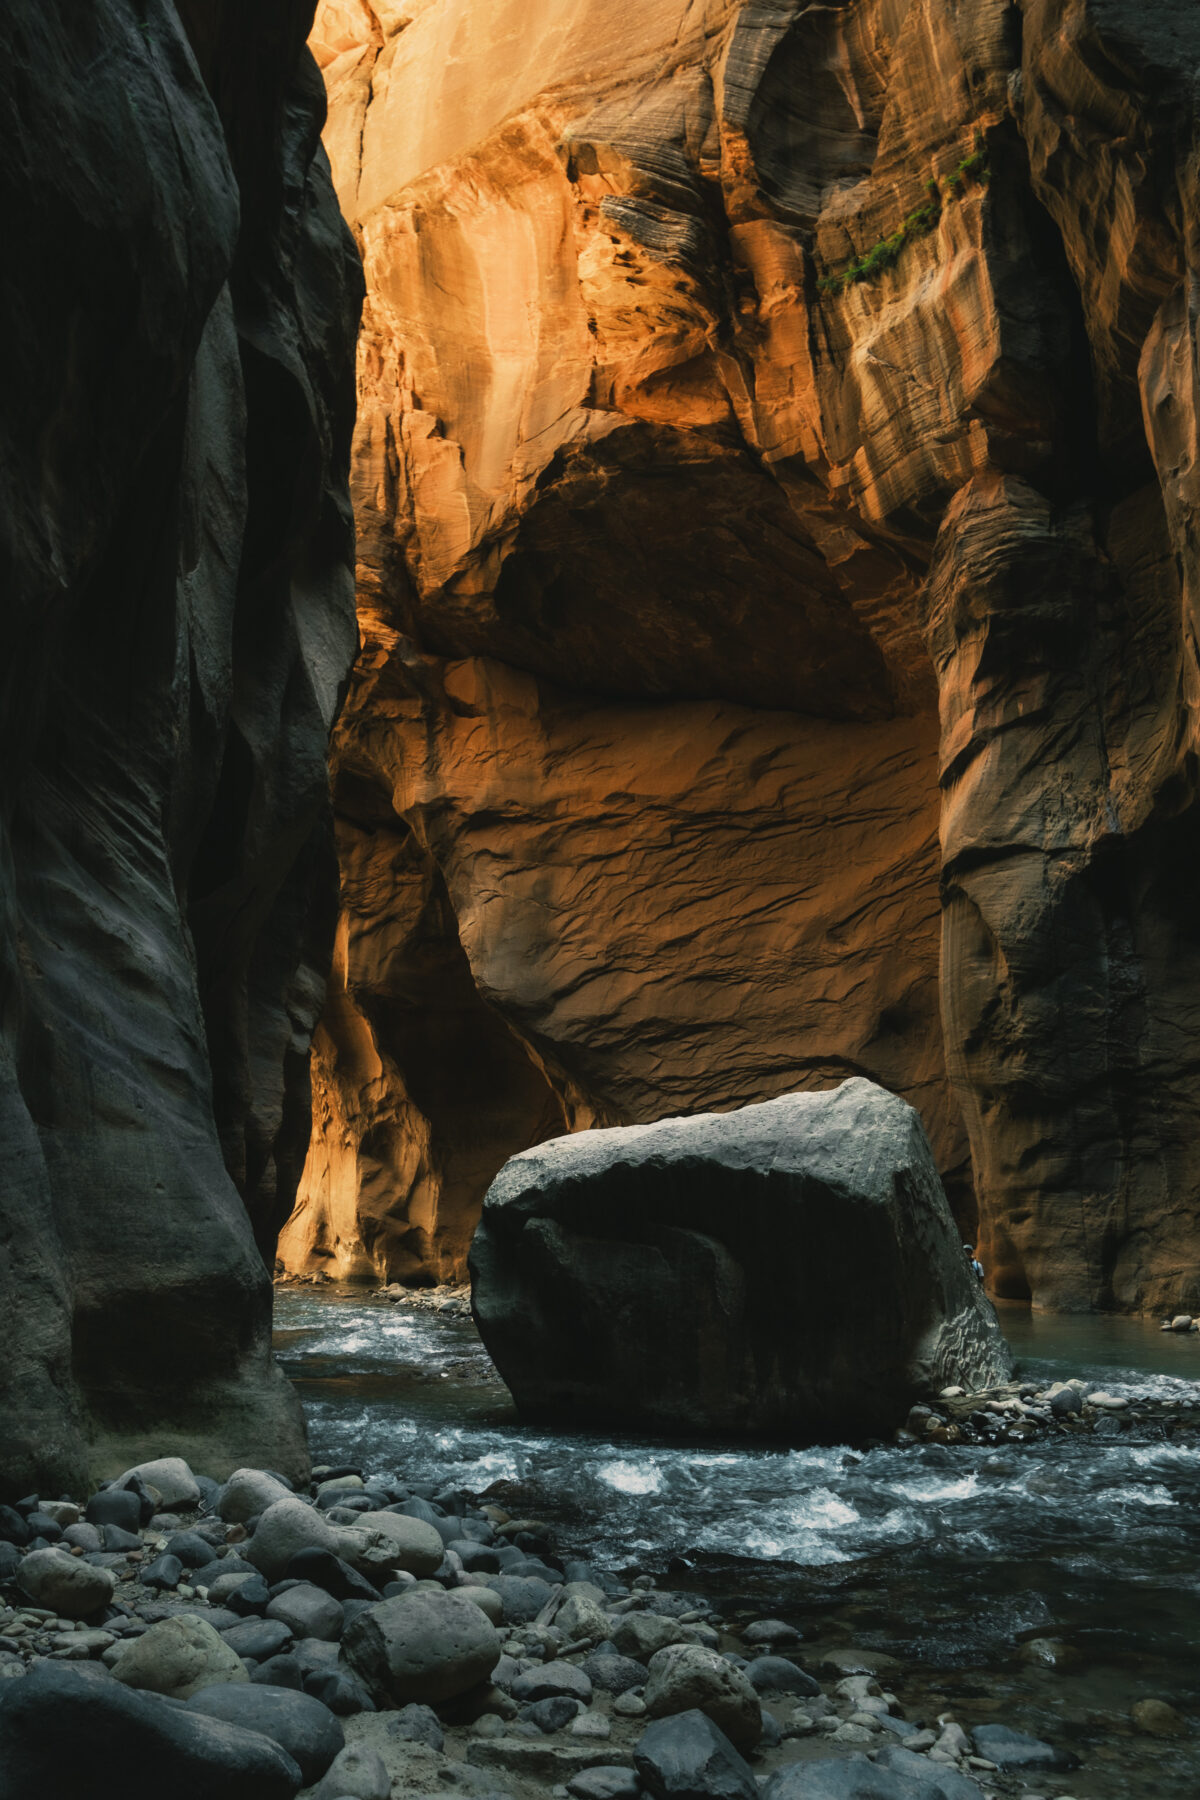
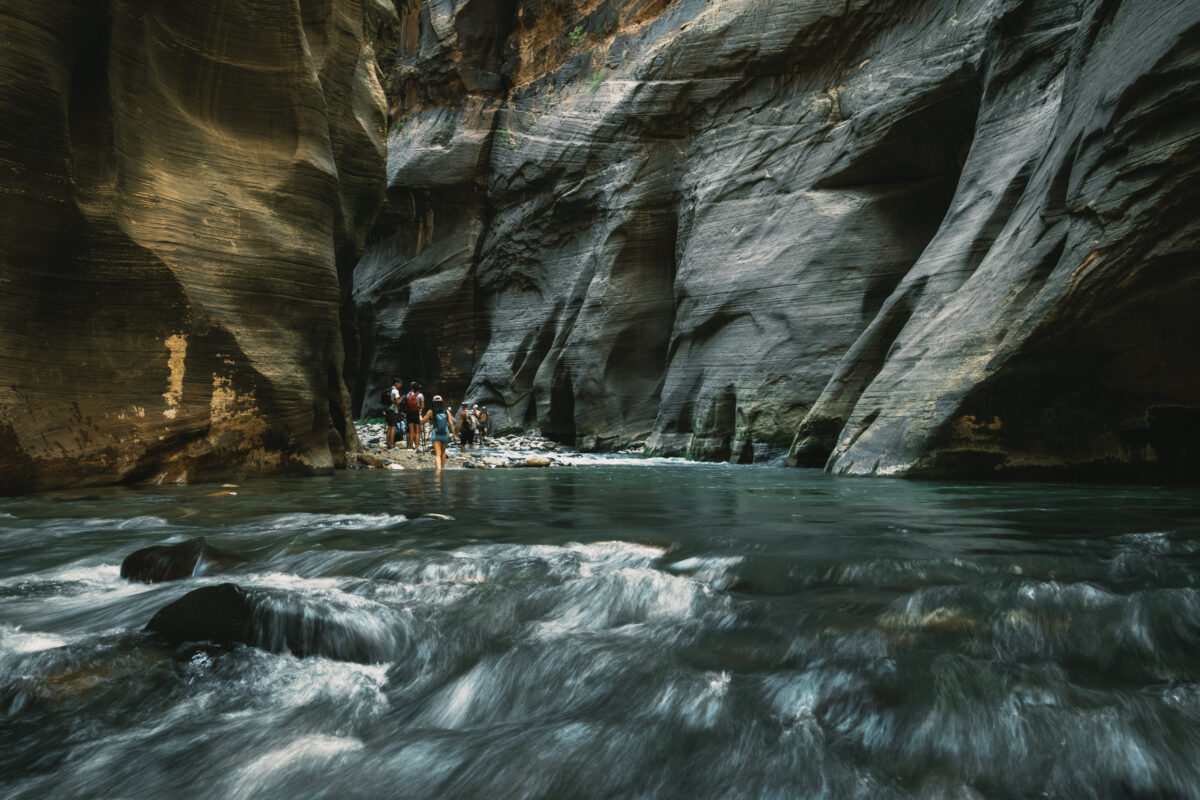
The Junction: Getting past the junction was like hitting a reset button. The crowds almost disappeared or at least spread out far enough that we had stretches of the canyon to ourselves. From here on out, we experiences the most visually spectacular sections of the hike. The canyon walls soared up on both sides, creating a feeling of being completely engulfed by the sandstone giants.
Wall Street: Ultimately, we wanted to turn back around 3:30 pm and try to make it to an area called Wall Street, about half a mile before the end. The narrow passages and towering walls made it feel like we were in a natural cathedral.
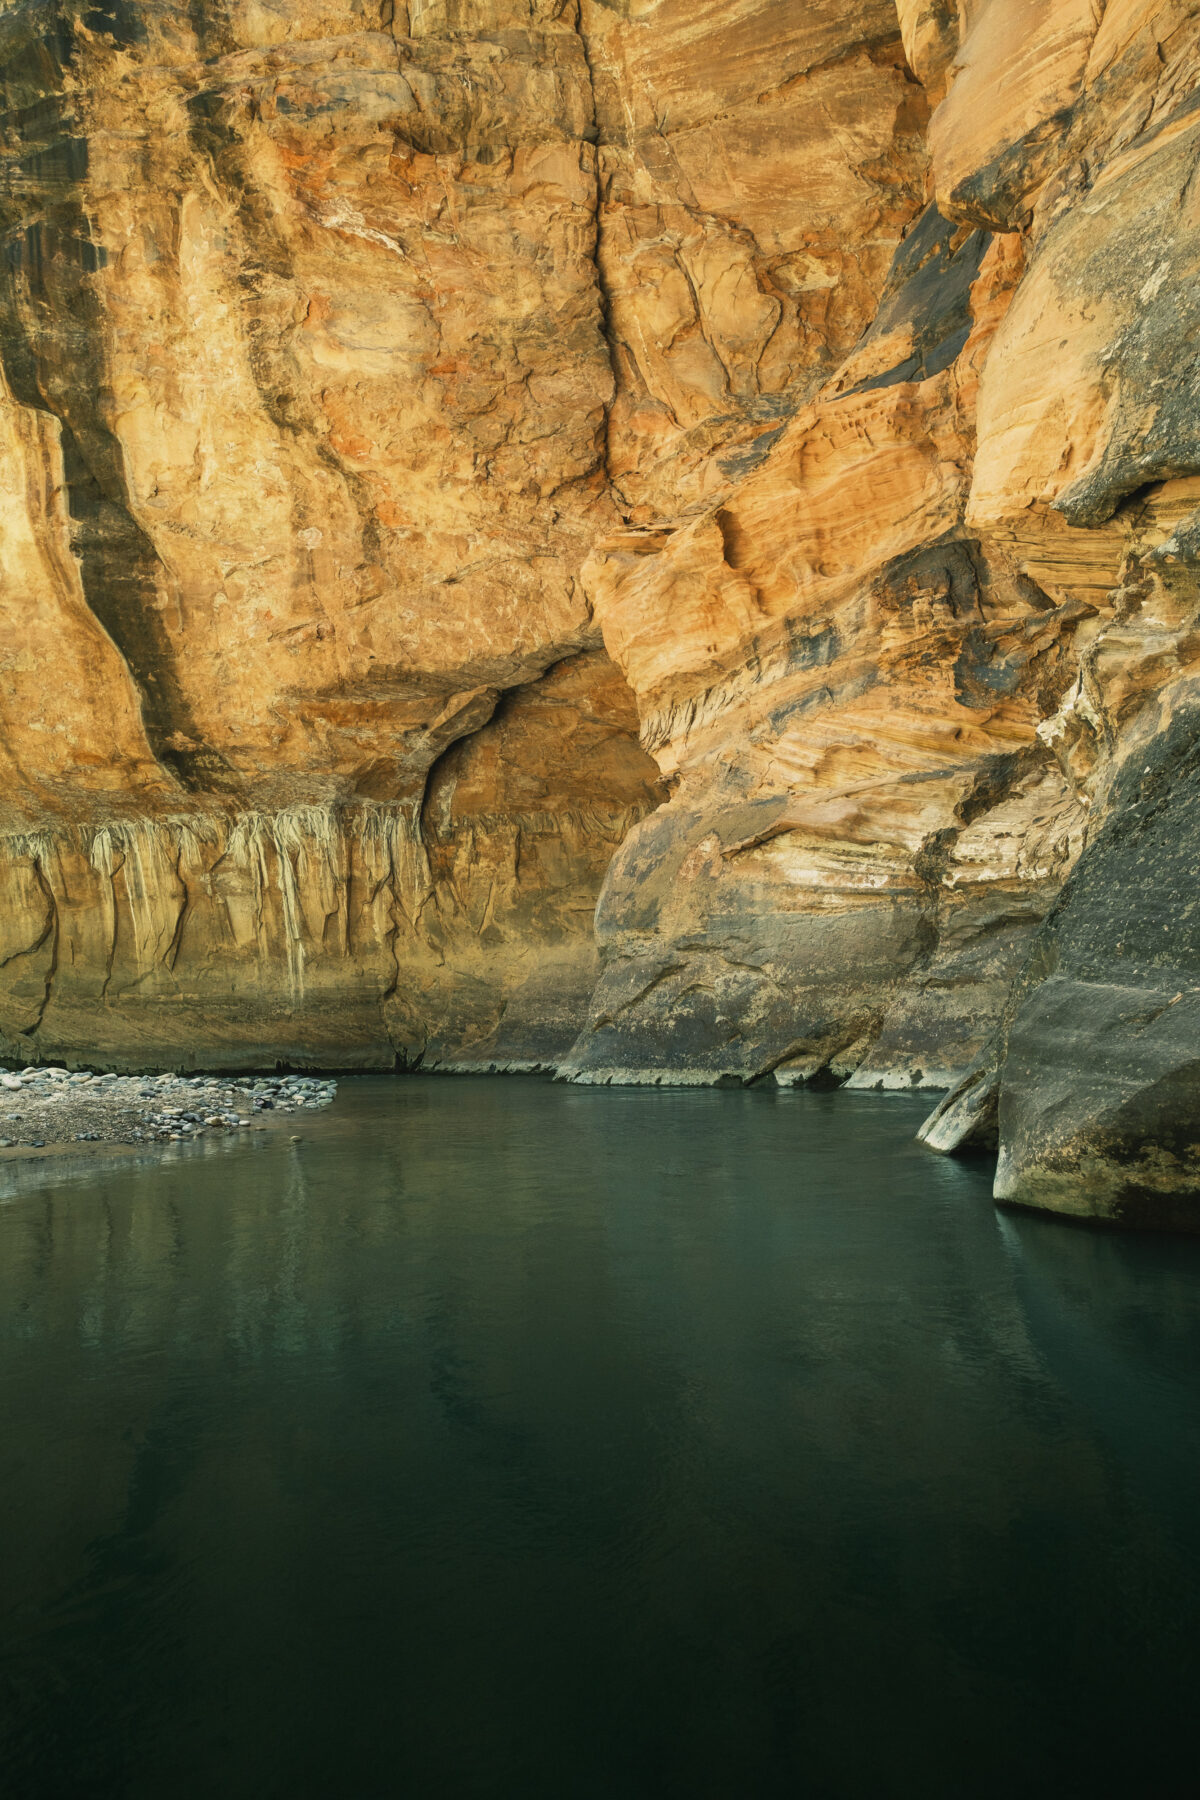
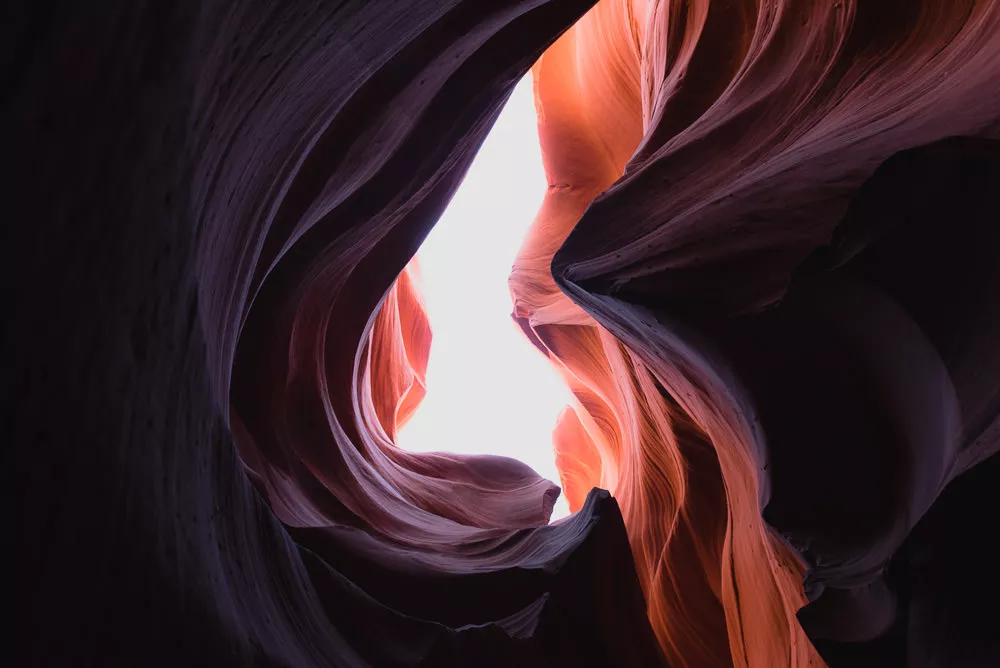
The lack of people meant we could take our time, soak it all in and get some epic photos. Without any direct sunlight, the sandstone gets lit up like fire.
We said we would turn back, but it was so beautiful, we kept agreeing to see what was around the next bend. This went on for another 30 minutes until we finally decided to call it around 4:00 pm.

A Faster Hike Back: Going with the current and stopping less for photos, we ended up making it back in about 2 hours. This was considerably faster than our rate going in and came out to a bit faster than 2 miles per hour.
In the last two miles, we noticed a lot people going up river, which meant they started around 2 or 3 pm. I think you can still experience a bit of the Narrows just going 1 mile up river, but really, the best parts are near the last third of the Bottom-Up route.
AllTrails Does Not Work Well In The Narrows
We tried to take the hike with AllTrails and an Apple Watch. Distance wise, Apple Watch was much closer to what we expected from the distance we covered. AllTrails jumped all over the place, which gave us some ridiculous stats. It showed we hiked 13 miles and had an elevation gain of around 20,000 feet. In reality, we probably covered about 8 miles.
We initially went off some of the user reviews from AllTrails and I was already skeptical when a coupe of people said they did 12 miles out and back in 4 hours. That meant a rate of 3 miles per hour, which is what I would normally hike on land if I was fast.
How Much Water Do You Need To Bring?
First off, you cannot drink the water in the river due to the presence of cyanobacteria. In fact, you’re advised not to dunk your head in the water or hike with any large exposed wounds.
It’s recommended to bring around 3 L of water per person for a day hike, depending if you plan to go the entire distance.
For me personally, I hiked the Bottom-Up route and drank about 1.5 L of water, with a 1.5 L remaining. I expected to drink more from the 104°F heat that day, but it was quite cool in the canyon.
For the longer Top-Down route, I would carry at least 3-4 L of water if you plan on refilling at the Big Spring 11.5 miles into the hike. Otherwise, plan for 5-6 L of water per person.
PRO TIP: For long hikes, I always carry two water sources, just in case. For the Narrows, I used a 2L water bladder and my 1L collapsible water pouch that I carry everywhere.
How I Packed For The Narrows
Shoes and Socks: If you are renting equipment, you’ll be provided with canyoneering boots and neoprene socks. However, any pair of trail shoes with good grip will do, and something that drains is even better. I would avoid waterproof boots because they keep the water in.
I have a pair of neoprene socks to keep my feet warmer (like a wetsuit), but I hiked in these Injinji socks, which prevents rubbing between the toes, and was fine for the 6 hours in the water. The water temperature was 58°F.
Clothing: Quick-drying shorts are ideal when the weather is warmer. Everything will get wet. For colder temperature, I prefer to have tights on rather than pants because they drag less in the water. For tops, I had a quick-dry shirt paired with my favorite lightweight KOR Airshell.
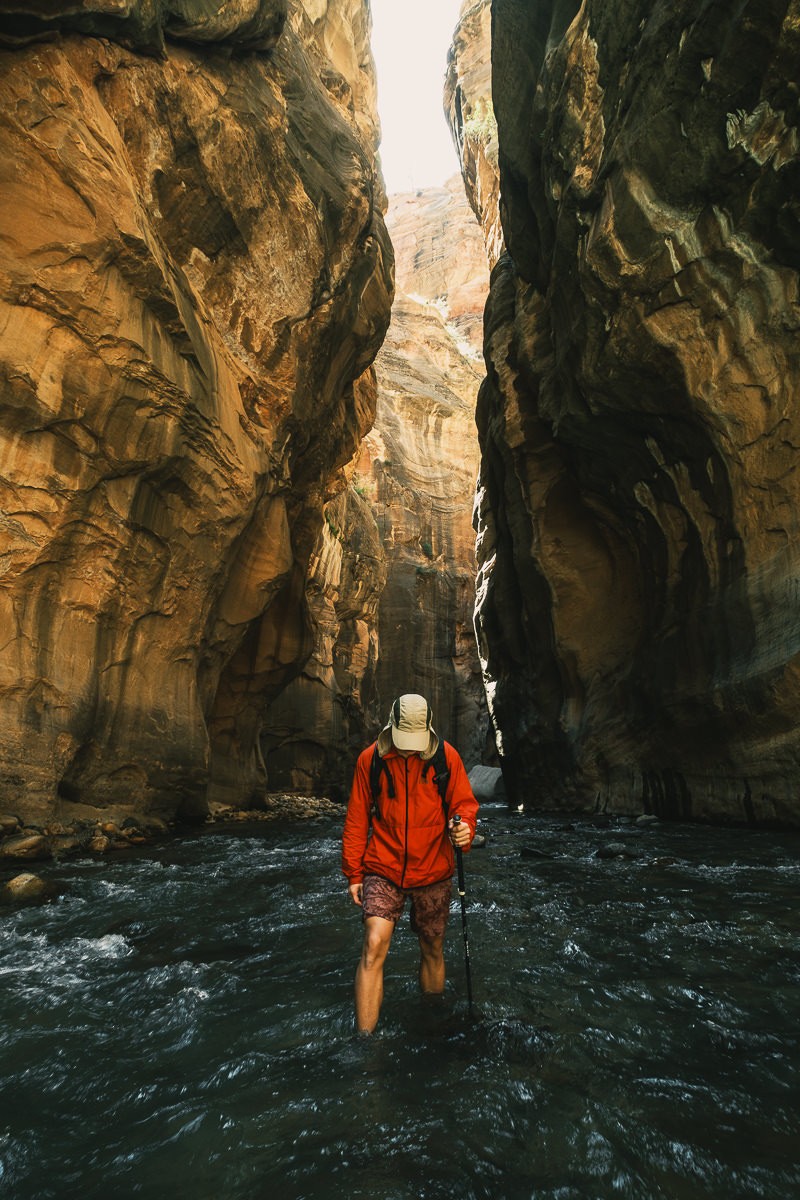
You can also bring a fleece or down jacket, but you’ll probably want to remove it when the water level rises as those are not meant to take on water.
Backpack/Dry Bag: A dry bag backpack with shoulder straps good solution, but their straps are usually lacking. I took my favorite 5.11 rucking pack, which distributes weight comfortably and has drain holes at the bottom. I also brought my ultralight dry bag to keep the important stuff dry. Every else, like food and snacks, were just stored in quart size freezer bags and they were fine.
Essentials: I take these collapsible hiking pole around the world for my hikes, and I strongly recommend a pair to help with gauging depth and balance. You’ll also want a good sunscreen.
Optional Equipment: A waterproof case or pouch for your phone. I do not like those plastic pouches, and prefer something like this waterproof case to get clearer photos.
I use this indispensable quick release clip to attach my larger camera to my bag strap. The camera can be accessed easily and I can carry it comfortably when not shooting. It sits high at my chest level, so I only had to remove the camera twice to hold overhead during the entire hike.
Winter Season Additional Gear
Dry Suit or Dry Bib: A dry suit will seal up to your neck, while a dry bib is like an overall that goes up to your arm pits. Both will keep you dry and warmer. These things are expensive, so it’s probably better to rent them. See below for rental information.
Thermal Base Layers: Layer up with a lightweight thermal base to add warmth protection without the bulk.
Waterproof or Down Jacket: Pair this with your dry bib gaiter to stay warm.
Handwarmers: I like having these warmer packs whenever I’m hiking in the winter time, so toss a couple in your bag just in case.
Emergency Blanket: Just in case something happens and you need to stay warm. They take up no space.
Where To Rent Gear For The Narrows
You can rent gear if necessary at Zion Outfitters, right outside the park. They open at 7 am and close at 9 pm. Equipment can be taken out the evening before between 4 pm and 8 pm or on the morning of your hike. All equipment is due back by 8 pm the day of your hike.
I hiked in June, and didn’t need any equipment, but I saw many people who took a package.
Rental Packages
Warm Weather Package: Water shoes, neoprene socks, hiking pole. $32 + $16 for each additional day.
Dry Pants Package: The Warm Weather Package + Dry Pants. $49 + $25 for each additional day
Dry Bib Package: The Warm Weather Package + Dry Bib (a wader that goes up to your armpits and chest). $55 + $28 for each additional Day
Waterproof Backpack: $12
Getting to The Narrows
I’ve driven to Zion National Park from a couple of different starting points based. While there’s an airport in St. George and Cedar City, which is only about an hour away, they are both regional airports with limited flight options.
The closest major airport is in Las Vegas at the Harry Reid International Airport.
From Las Vegas, NV, it’s about 160 miles and 3 hours. Previously I drove from Salt Lake City, UT, and it was about 300 miles and 5 hours. For this trip, we decided to break up our drive from Las Vegas and stayed in St. George, UT, which was about 42 miles or 1 hour away from the park.
Parking At Zion National Park
If you are arriving after 9 am, it’s probably best to find a spot in Springdale to park and take the free Springdale shuttle to the Visitor Center. The incentive was getting there early is being able to park in the lot right next to the visitor center. We were glad to find a spot here.
Where To Stay For The Narrows and Zion National Park
Springdale
This is the closest town to Zion National Park. The gateway to the national park is a quaint town with plenty of restaurants and cute shops. From here, you can just take a free shuttle right into the park and not have to worry about driving.
The main downside is the higher prices you’ll pay for the location, compared to Hurricane. Still, I recommend staying in Springdale for the convenience.
Recommendations: Hotel De Novo, Cliffrose, Flanigan’s Resort and Spa, Hampton Inn
Hurricane
While it’s still small, Hurricane is more of city than Zion with a greater selection of reasonably priced accommodation. It’s only about a 25-30 minute drive to get to the park, so it’s still reasonable. If you aren’t just visiting Zion National Park, there are other things to do in the area by basing yourself at Hurricane.
This is where I generally stay when visiting the park and what I would recommend to most people who are traveling on a budget. Prices are incredible if you book early enough as they rise closer to the stay date.
Recommendations: Wingate by Wyndham, Super 8.
St. George
If you are looking for a slightly bigger city than Hurricane, St. George is still a reasonable 1 hour drive away from Zion. There are even cheaper accommodations here than in Hurricane, so if you’re looking to save some money and don’t mind an extra 30 minutes to your drive to and from the pari, choose St. George.
I stayed here this time to break up the driving between Las Vegas and Zion.
Recommendations: Inn on the Cliff, Hampton Inn, Hyatt Place
Looking for more travel inspirations? Scroll through some of the 450+ experiences on my bucket list. Maybe you’ll find your next adventure on there.
How You Can Help
If you’ve found the content useful, you can help support this site by using these links when you plan and book your trip.
| Booking.com | Agoda.com |
| Amazon.com | Klook.com |
| Viator.com | GetYourGuide.com |
Updated on June 14, 2024


